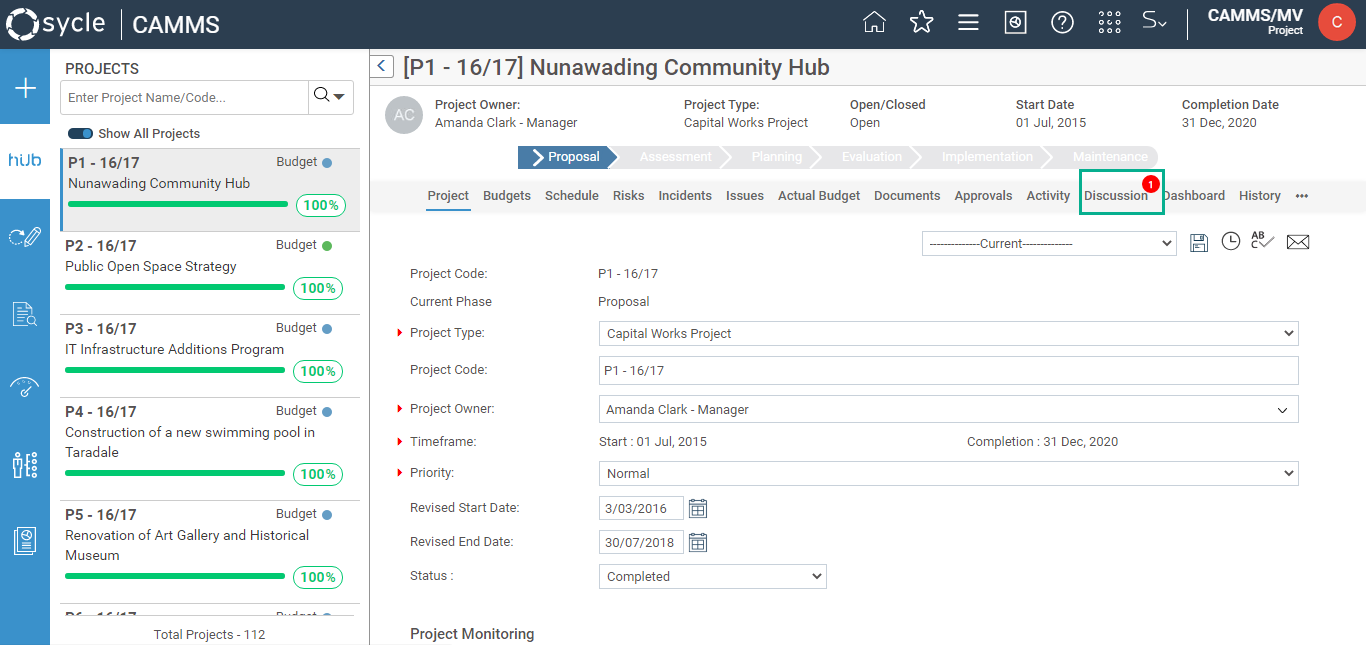
The Discussion tab in the Project Hub can be used to notify an individual or a group on a project’s progress.
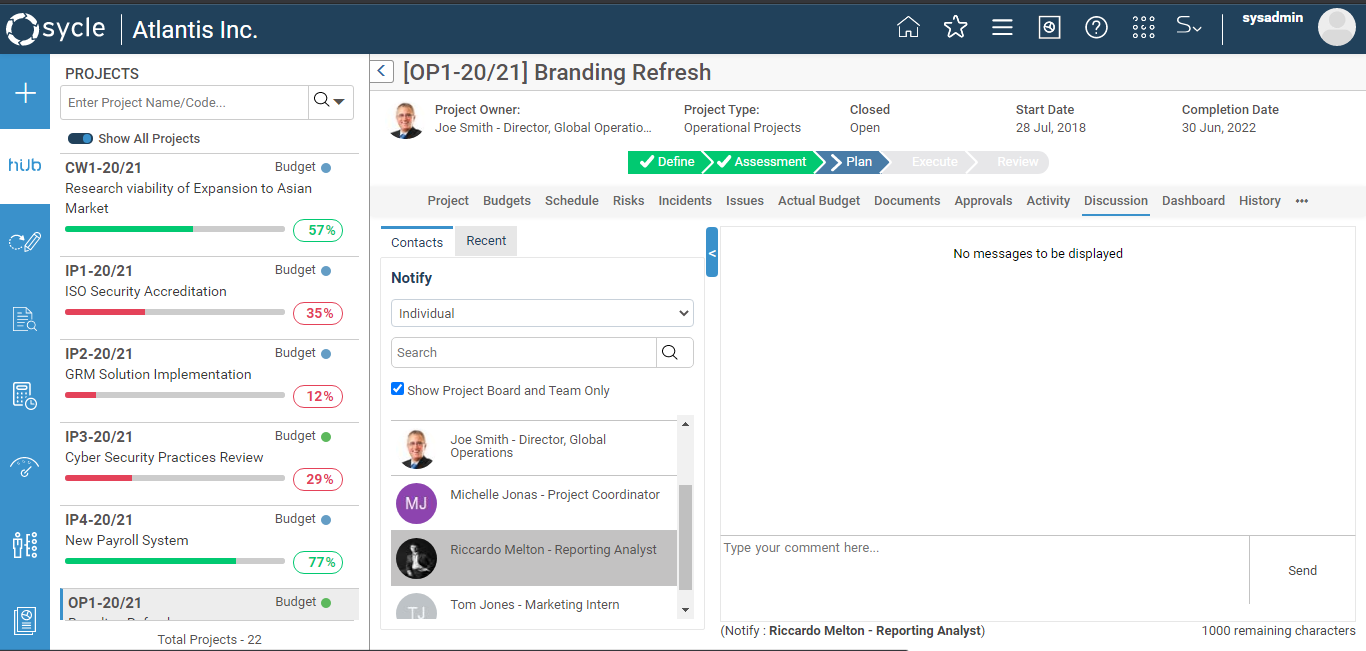
Chat Messaging Panel
The Chat messaging option is available for the following items: Projects and Project Tasks.
Chat Messaging Panel contains two tabs as mentioned below:
- Contacts
- Recent
By default, you will be directed to ‘Recent’ tab once you open the discussion forum.

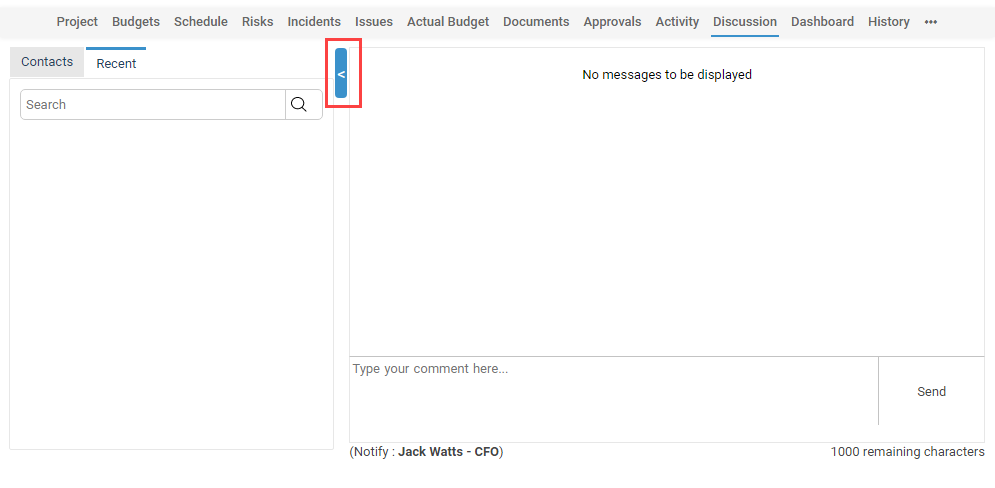
Collapse Button – Collapse left side pane of discussion forum. Once collapsed, click on collapse icon again to view the left side pane.
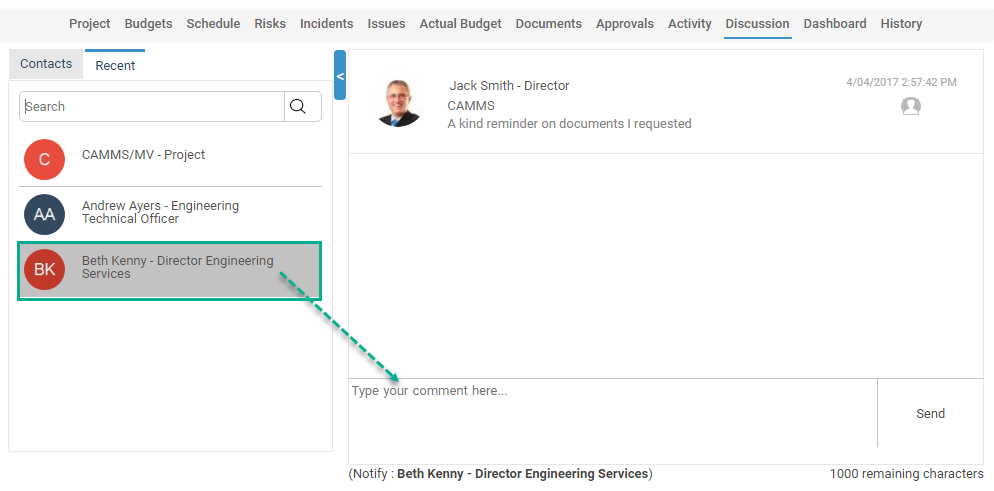
The 'Recent' tab

- You can view all messages from recent conversations including any unread conversations.
- Conversations are sorted as per the received date (latest to oldest).
- Up to 10 previous conversations will be displayed. New conversations will be displayed on top. You can load older conversations by scrolling up to the last message and then clicking on ‘Show Earlier Messages’.

For each new conversation, number of unread messages will be displayed next to the respective individual or group name.
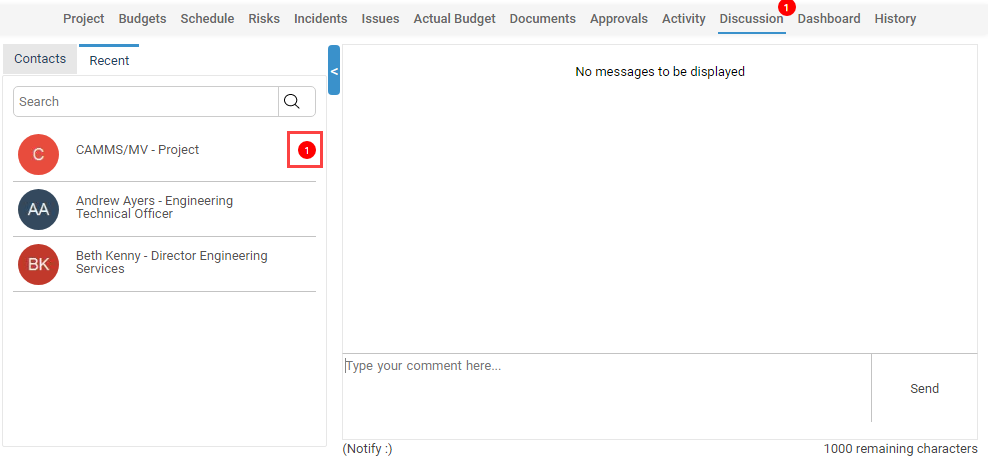
Click on any conversation (individual or a group) in the collapsible panel and the messages shared only with the respective individual/group will be loaded in the right hand side of the chat messaging panel.

Each message contains following information:
- Name of the sender
- Designation of the sender
- Date and Time the message was sent
- Message content
- Delete icon – If the message has been sent by you, then the delete icon will be visible on mouse hover over.
◊ If you are assigned IPM Administrator, Project Manager, Interplan Administrator roles or you are the Project Owner of respective project, the Delete icon will be visible for all chat messages on mouse hover over.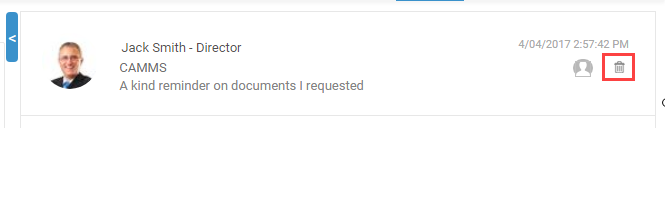
You can search for an individual or group by using the search panel at the top.

You can reply to any selected message by typing your comments.
Please note that the text size is limited to 1000 characters.
The 'Contacts' tab

- This tab will enable you to initiate a conversation.
- There are three possible audience types: Individual, Personal Group and Administrative Group. These will be explained in the 'Sending Messages' section.
- The current selected audience is displayed in bottom right section of the screen.
The selected audience is hyperlinked. Clicking on it will open the collapsible ‘Notify’ panel (if not already open).
Sending Messages
You can select the audience to which the message should be sent from the ‘Notify’ dropdown in the collapsible section of the panel. ‘Individual’ is selected as default.
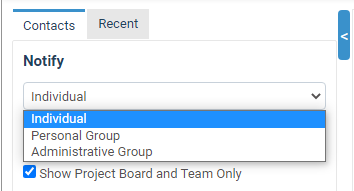
Messages can be sent to three types of audiences:
Individual
Personal Group
Administrative Group
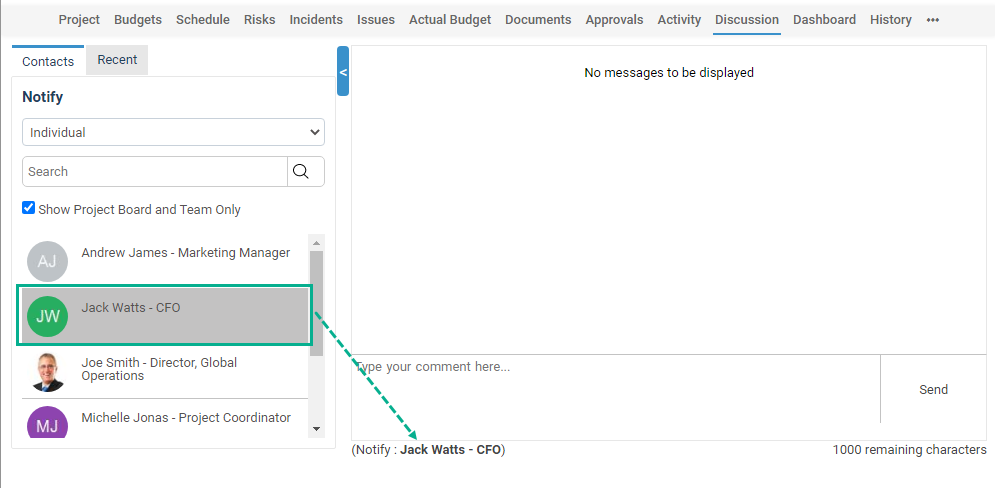
Sending Messages to an Individual
Selecting this option will allow you to notify one specific individual in the organisation. By default the 'Show Project Board and Team Only' tick box will be selected and the textbox will display the members of the project board and team only.
 You can select a project board and team member you wish to notify from the list and enter a comment in the text box and send it by clicking the 'Send' button.
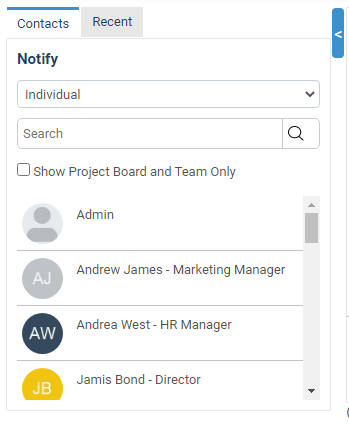
If you want to send the message to a person outside the project board and team, you can untick the 'Show Project Board and Team Only' tick box and select the desired user. All Active user accounts linked to a staff member within the organisation will be displayed here.
Sending Messages to a Personal Group
Selecting this option will allow you to notify a pre-defined group. All personal groups created by you for the respective project will be loaded. You can select a group from the list and send messages.

Or else, you can create a new group by clicking the ‘Create New Group’ icon available at the top right hand corner of the Notify collapsible section.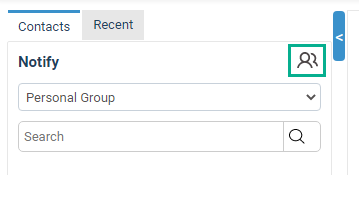
In order to create a new Personal group, click on the icon. The ‘Personal Discussion Group’ pop-up will appear.

Existing Personal Group Names will appear under the ‘Group Name’ section. Click on the ‘Add New Group’ icon to proceed with group creation.

Following fields will be displayed:

Group Name: Enter a name for the group in the textbox.
Filter by Organisation Link Dropdown: Filter members as per their organisational links. The list of users shown will change based on the selection. Default is set to 'Show All'.
Show Project Board and Team Only: (ticked by default): Ticking this will load the board and team members below. When unticked, all active users within the organisation who have a staff member linked to them will be displayed.
‘Select All’ option is included to select all listed members.
You can apply the filters, search for members then select members and add them. Once relevant members are added, they will be displayed within the ‘Member Name’ Area. You can delete a member by clicking on ![]() (Delete Icon).
(Delete Icon).

- Click ‘Insert’ to finish group creation. The new group will appear under the Group Name section.
You can edit/delete existing groups by clicking on![]() &
&![]() (edit/delete) icons.
(edit/delete) icons.

An alternative way to create Personal Groups is explained in the Creating Personal Groups for Chat Messaging section.
Sending Messages to an Administrative Group
Selecting this option allows you to send notifications to a pre-defined group consisting of individuals from the organisation. All groups created by the system administrator in which, ‘you are a group member’ will be available for you to select and update.
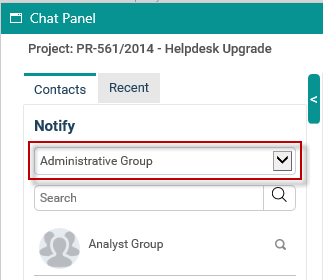
You can view members belonging to a particular administrative group by clicking on ‘Search Icon’. A Group Members pop-up will appear with member list.

Refer 'Creating Administrative Groups for Chat Messaging' section for guidance on creating administrative groups.
Notifications for New/Unread Messages
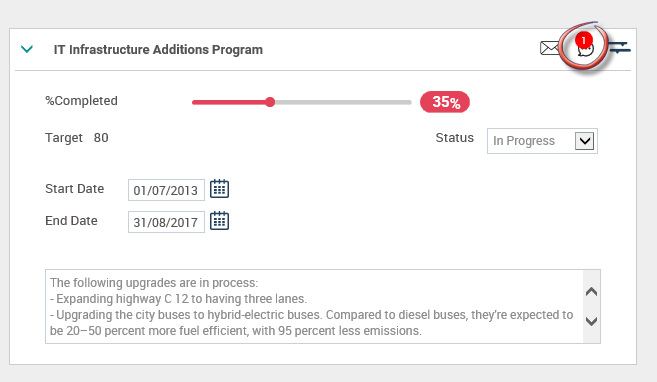
When you login to Camms.Project, new message Notifications will be displayed in header banner next to your image.

Number of unread messages will be displayed along with the chat icon.
Click on the image and then click on ‘Alerts’ from the dropdown. You will be able to view unread chat messages.
The Notifications will be sorted by the received date (most recent to oldest).
Clicking on an item will open the relevant chat messaging panel. Once the panel is opened, all new messages will be marked as ‘Read’ and will no longer shown as new Notifications.
Notifications within other areas of Camms.Project
1. Notifications within Project Hub
2. Notifications within Project Workflow

3. Notifications within My Quick Update
Creating Personal Groups for Chat Messaging
In order to create a personal group, navigate to the ‘My Settings’ section in Camms.Project. You can navigate to the ‘My Settings’ page by clicking your image on the header bar.
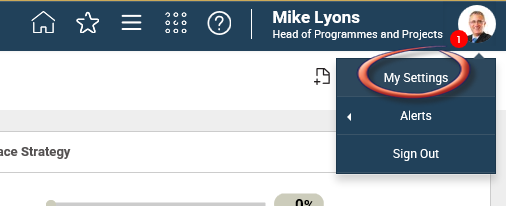
Once selected, click on ‘Personal Discussion Group’ within My Settings.

Existing Personal Groups are listed under the Group Name section.
In order to create a new group, on ‘+’ icon. Then type a group name and save.

In order to create a new group, click on ‘Add New Group’ icon.
 The following fields will be displayed on clicking on the Save icon after entering a name for the personal discussion group.
Group Name: Enter a name for the group. This field is mandatory.
Filter by Organisation Link Dropdown: Filter members as per their Organisational Links. Once selected, the list of relevant members will be displayed underneath. Default is set to "Show All".
Linked Project: A dropdown list of all projects in which you are part of the project board or team. You will be able to select the project for the group. This field is mandatory.
Show Project Board and Team only: (ticked by default) When ticked, only the board and team members of the selected project will be displayed. When unticked, all active users within the organisation who have a staff member linked to them will be displayed.
You can tick the ‘Select All’ option to select all listed members or tick on individual users and click ‘Add’.
Once added, names will be displayed in ‘Member Name’ section. You can delete a member within this area if you want to exclude them from the personal group.

Click ‘Insert’ once completed to finish setting up the new group.
Note: Personal Groups will be unique for a project. Hence, a personal group created for a particular project will not be displayed in another project in the chat messaging panel.
You can also modify an existing personal group. Click on the Edit icon, do relevant modifications and save. Any unwanted personal group can be deleted by clicking on the Delete icon.

Creating Administrative Groups for Chat Messaging
In order to create an Administrative Chat Messaging group, navigate to Framework > Project Settings from the menu bar.
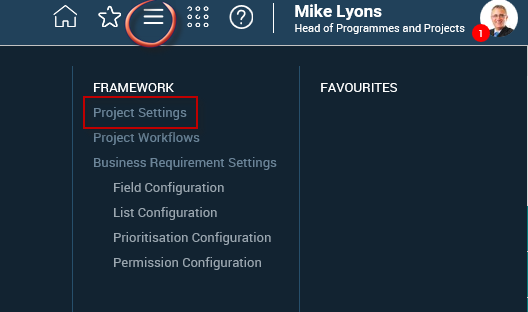
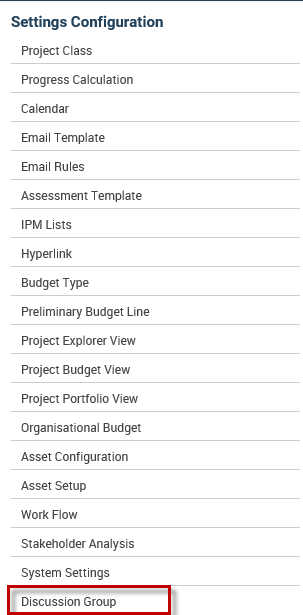
In the Settings Configuration menu, click on ‘Discussion Group’.
Administrators can view, edit and delete administrative groups within this section.
Existing groups in which you are a member of will be listed under ‘Group Name’ section. You can edit or delete existing groups by clicking on the edit/delete buttons.
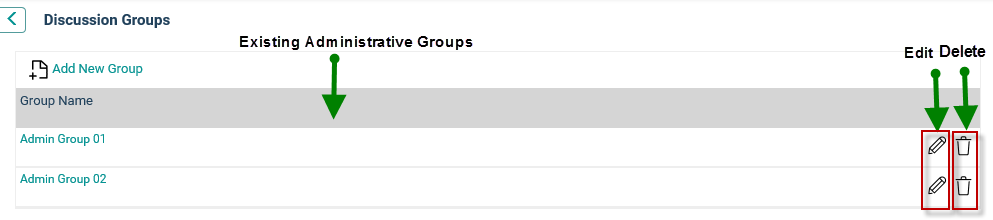
In order to create a new Administrative Group, click on the ‘Add New Group’ icon.

The following fields will appear:

Group Name: Enter a name for the administrative group. This field is mandatory.
Filter by Organisation Link Dropdown: Filter the list of users as per their Organisational Links. Default is set to ‘Show All’.
All active users within the organisation who have a staff member linked to them will be displayed. You can tick the ‘Select All’ check-box to select all displayed members.
Once relevant members are added, they will be displayed in the ‘Member Name’ area. You can delete members by clicking on ‘Delete’ button in front of their names.

· Click ‘Insert’ to add the new group.
Note: All administrative groups in which ‘you are a group member’ will be displayed when ‘Administrative Group’ is selected from ‘Notify’ dropdown within the chat messaging panel.
