Configuring Data Grids
Data grids comprise of data laid out in rows and columns.
To begin, create a Grid type report part and drag and drop a few data fields into the Columns section.
Now you can customize the look and feel of your grid by using the Report Part Properties tab on the right.
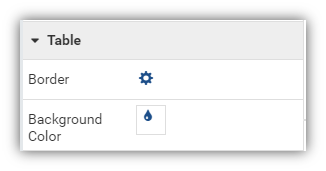
For example, you may wish to set a border and background color for your table.

The available properties are listed in 7 sections.
- General Info
- Table
- Columns
- Rows
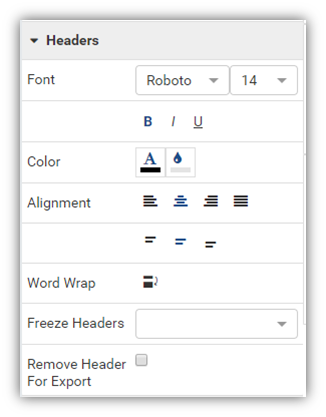
- Headers
- Grouping
- View
Common Grid Properties
Define border
Click the gear icon (⚙) to open Border Settings pop-up.
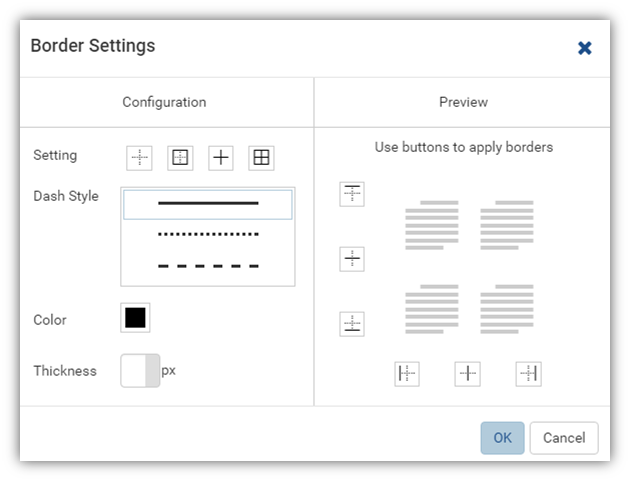
- Select pre-defined border styles: None (default), Outside, Inside or All, or click specific border style buttons in Preview section to apply.
- Select a line pattern: Solid (default), Dot or Dash.
- Select a border color.
- Select the border thickness (in pixels).
- Click OK to close the Border Settings pop-up.
Set the background and alternative background color
- Click the Background Color option and select a color.
- You can also apply alternating row/column colors.
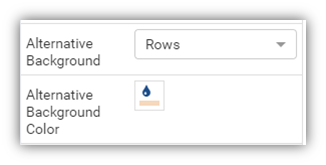
Set the alternative background by selecting one of four options:
- None: Do not apply alternative background color. When selecting this option, the Alternative Background Color does not display.
- Rows: Apply alternative background color for rows.
- Columns: Apply alternative background color for columns.
- Rows and Columns: Apply alternative background color for both rows and columns.
Column width and word wrap
Set the column width in pixels and turn on/off column word wrap

Header formatting
Choose a header font face and font size.
Adding Column Groups
You can group a set of columns by applying the same Column Group name to them as shown.

Passing a parameter to a custom URL
You can pass a value from a report to a custom URL i.e. make your project’s location name clickable so it brings up a new window.
Select the name of the field you wish to make clickable and click on the Custom URL option in your Field Properties panel.
A popup will appear.
Enter a URL and the parameter in the required format. This format may differ based on your URL
In the below example, we have used the format required by Google to conduct a search. This will open a new window with the results of the Google search for the name of the value specified in Location.
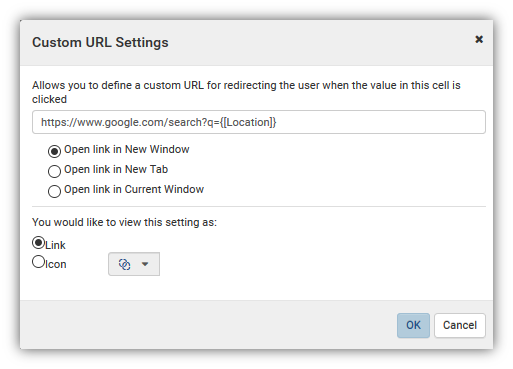
Example: https://www.google.com/search?q={[Location]}
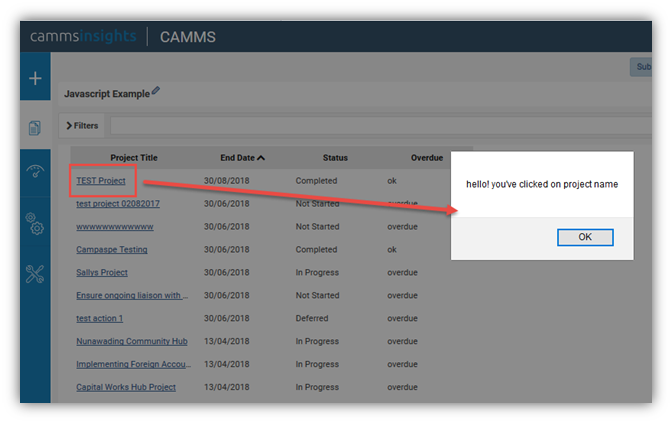
Embedding Javascript
Select the name of the field you wish to enable JavaScript for and click on the Embedded JavaScript option in your Field Properties panel. A popup will appear. The below example code shows a simple alert when the user clicks on the field name.