Edit Pages on the Dashboard
Modified on: Thu, 27 Oct, 2022 at 3:50 AM
- In order to configure your dashboard, you can click on the dashboard name from your Dashboards list table.
- Once you click on the dashboard name, you will be directed to the ‘Pages’ tab where the 1st level hierarchy nodes will be auto populated as pages according to the selected hierarchy.
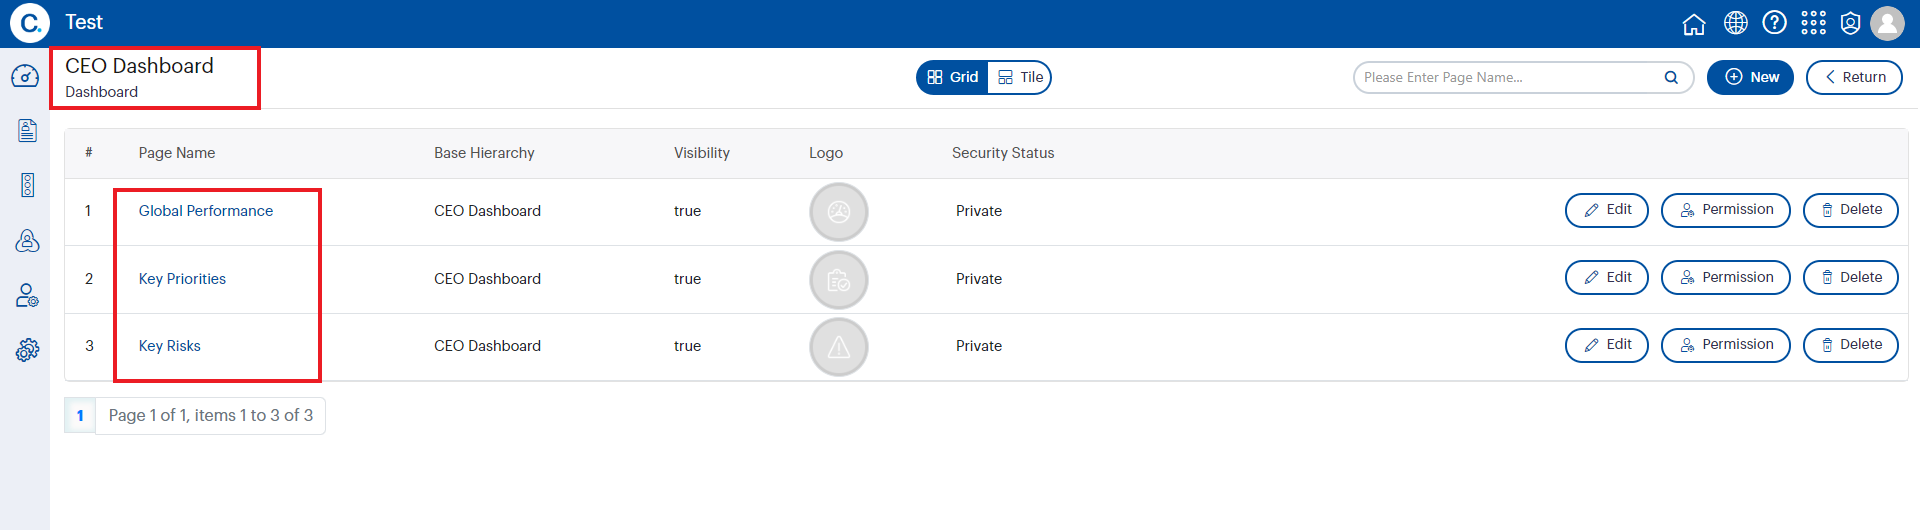
- When you are directed to the pages tab, you will see the name of your dashboard structure as the header.
- Visibility of these pages will be true by default. However, you can change the visibility of these pages from ‘Edit Page Details’ view. Moreover, the Logo button will be displayed as N/A and should you want to add logos to your pages, you can do so by uploading them on ‘Edit Page Detail’ view.
- Click on the edit button placed at the right side of the grid to edit the page details.
- When the edit button is clicked, a pop-up window named ‘Edit Page Details’ will appear where you can add further data on to your dashboard page.

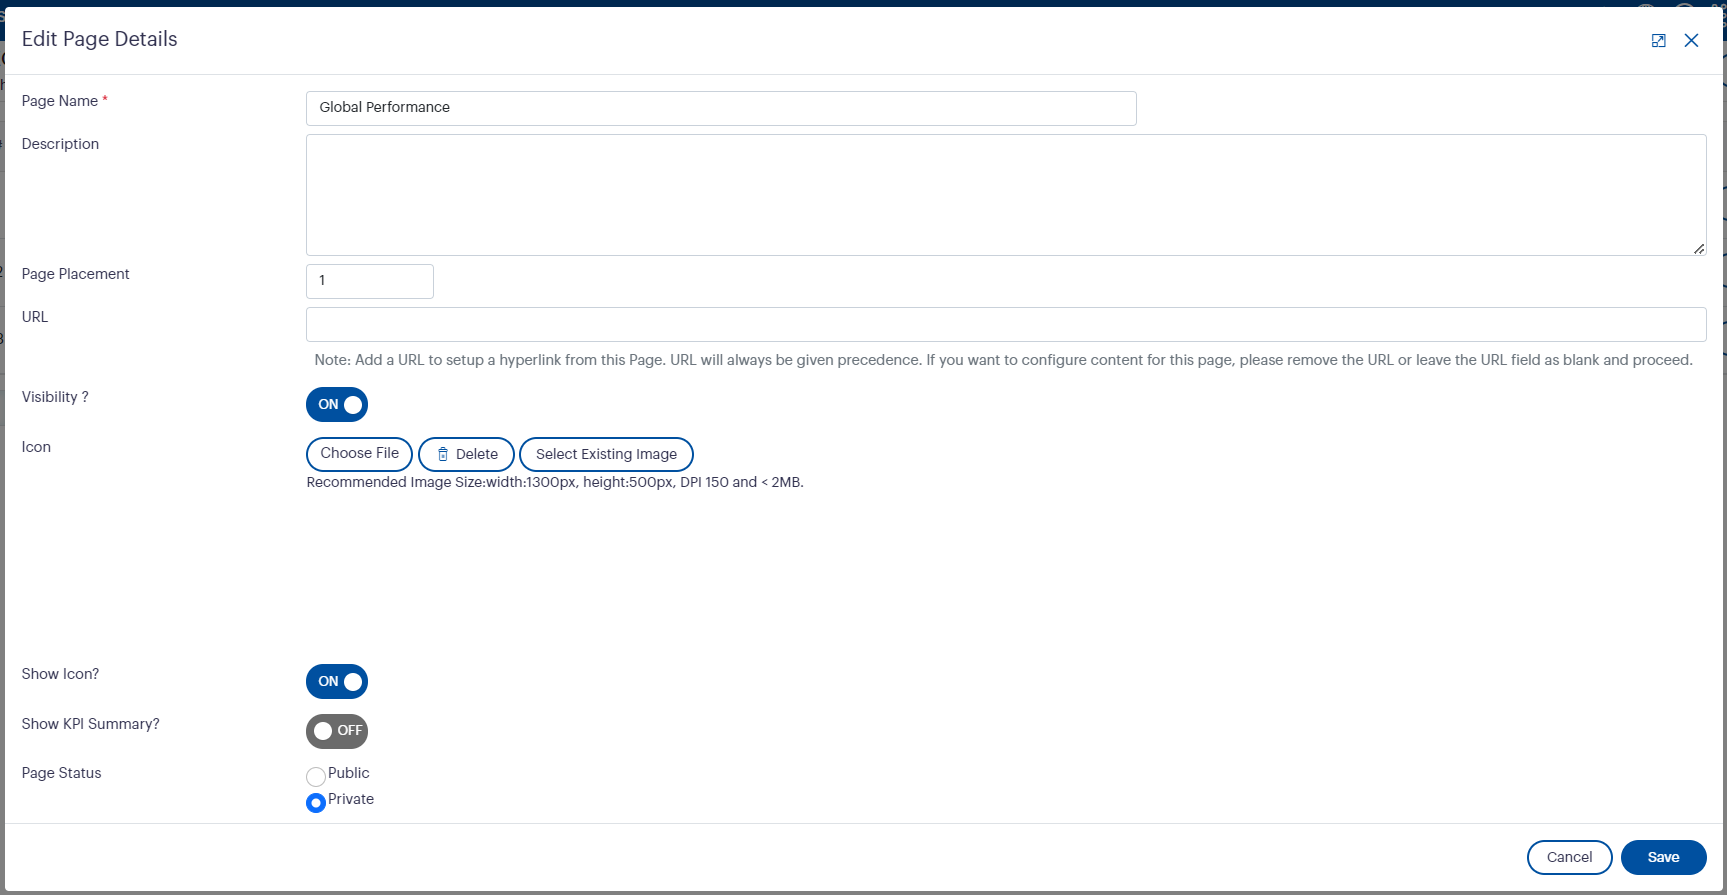
- Page Name - The page name will refer to the name of your Level 1 node as it is displayed on Pages tab. You have the flexibility to edit the name, as it will then display on the dashboard.
- Description- If you have a description to add against a page, you can add a description which will then be displayed on the dashboard.
- Page Placement - You can sort the order of the page from this field. Tool tip “decides where the page loads in the dashboard” will be displayed here. This will be editable as the page is saved before
- URL - A URL can be added on to the page. (Note: When a URL is entered, the page will give precedence to URL and work as a Hyperlink. If you want to configure the page, you should leave the URL field as blank)
- Visibility? - As mentioned before, you have the flexibility to control the visibility of your pages on community dashboard. The ‘Visibility’ toggle button will be enabled by default and if you want to hide this page from appearing on the dashboard, you can disable it.
- Icon- You can select a logo to be displayed on your page button of the dashboard. However, the images you select should be as per the image specifications mentioned below.
- Show Icon? - If you want this logo to be displayed on the dashboard, you can enable the toggle button provided. It will be disabled by default.
- Show KPI Summary? - You should enable the toggle button, if you want to display the performance summary of the KPIs which are directly linked to the page.
- Page Status - You should enable the toggle button, if you want to make the page public. As same as public dashboards any user can see the page if it is public.
- Once everything is entered, you can click ‘Save’ to show on the dashboard.
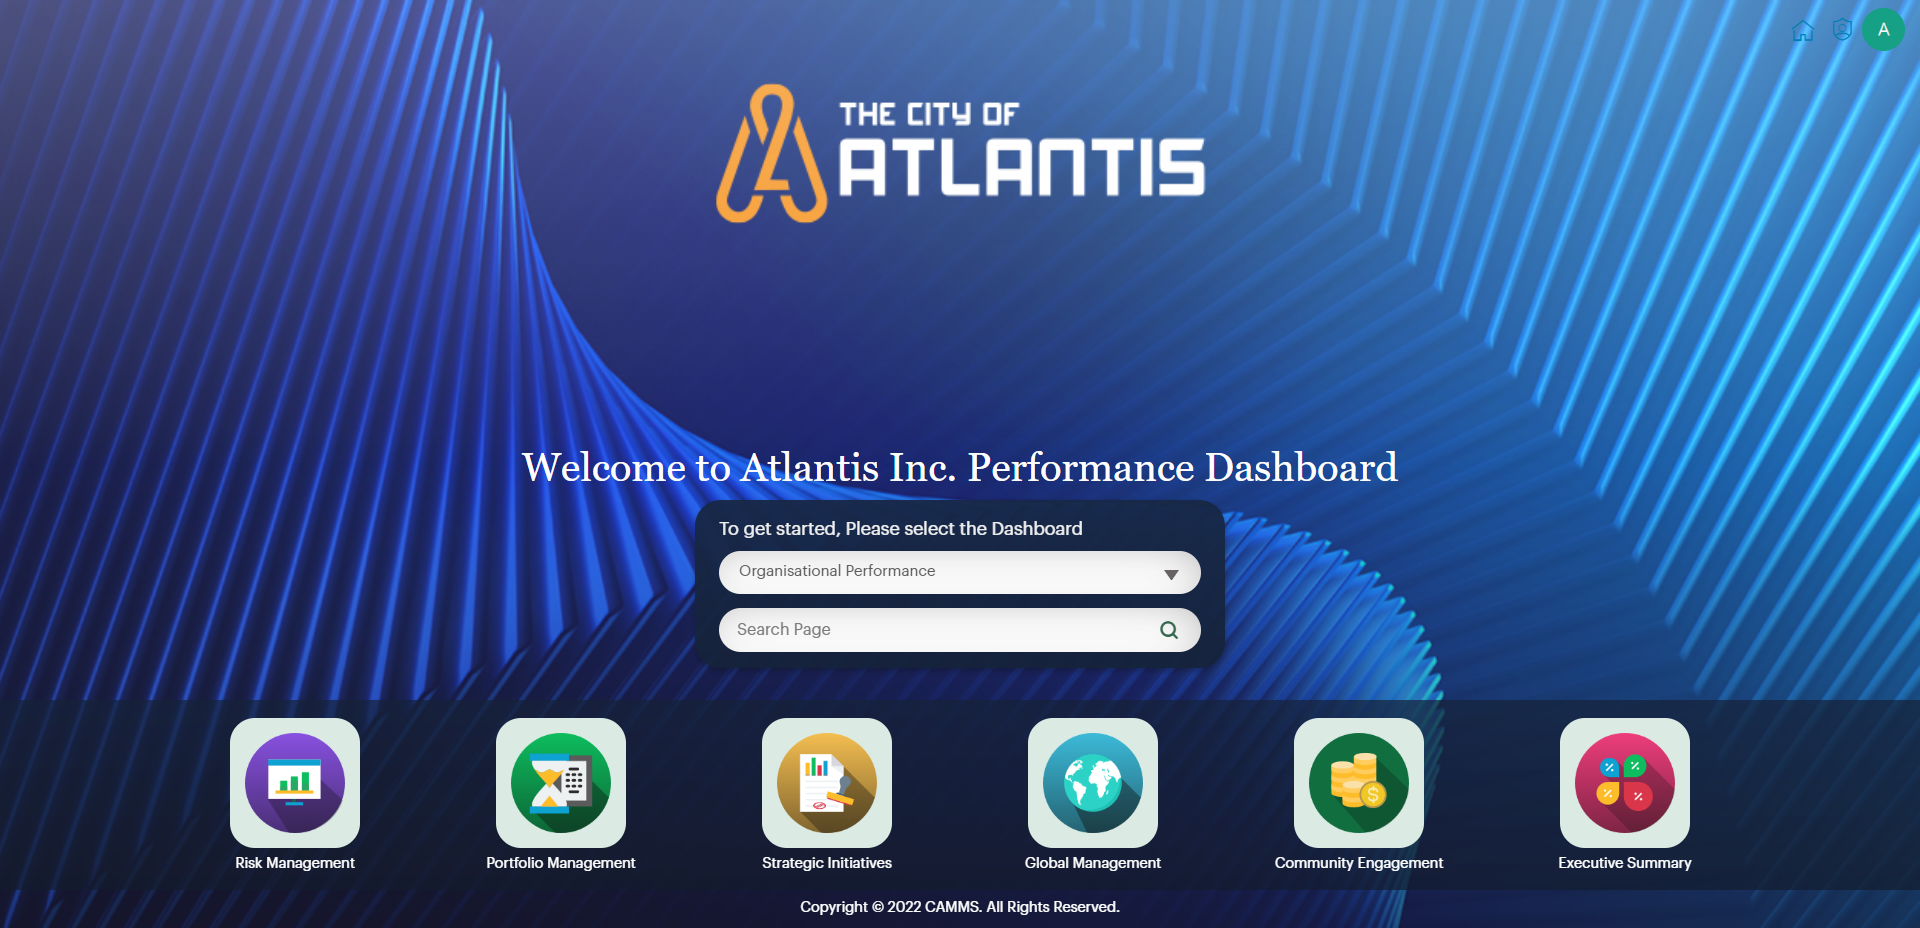
- Once configured the front end will be as follows:
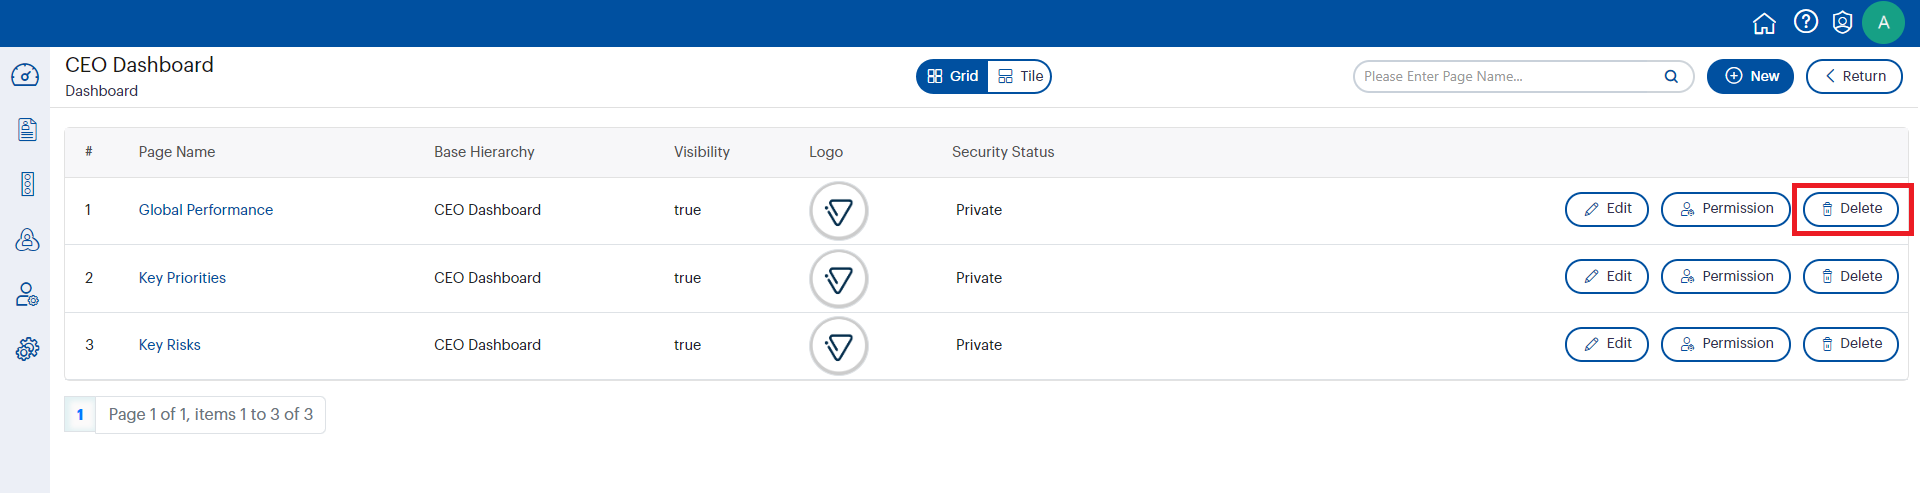
- You can click on the delete button placed at the right corner if you want to delete pages.
Did you find it helpful?
Yes
No
Send feedback Sorry we couldn't be helpful. Help us improve this article with your feedback.