- The new version of Camms.Engage is designed to give the option to configure the dashboard as individual pages which provides more flexibility for the dashboard designer over the content that is required to be published. Hence, the dashboard should be configured as separate pages.
Note: If you require to have more level 01 pages which are not linked to the hierarchy in Camms.Strategy, you can create them as separate pages and configure them in the configuration area of the admin panel according to your preference.
- First, you should click on add new button placed at the top-right corner which enables a pop-up window. It will pop-up a window similar to ‘Edit Page Details’ pop-up.

Note: If you require to make level 1 buttons as hyperlinks, you can create them as separate pages (which are not linked to the planning hierarchy) by clicking on add new button. The URL of the page can be given in the URL field.

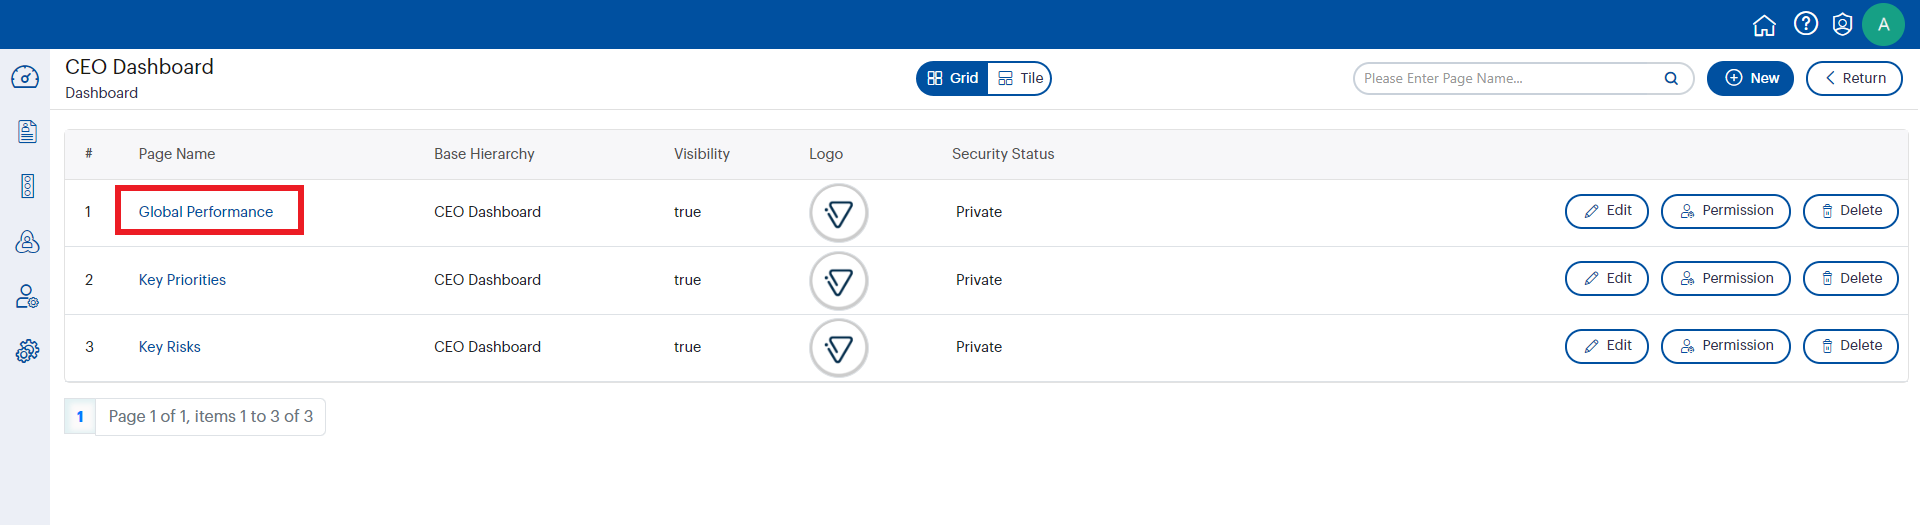
- Click on the page name in the Pages view and you will be directed to the page configuration area of the admin panel.

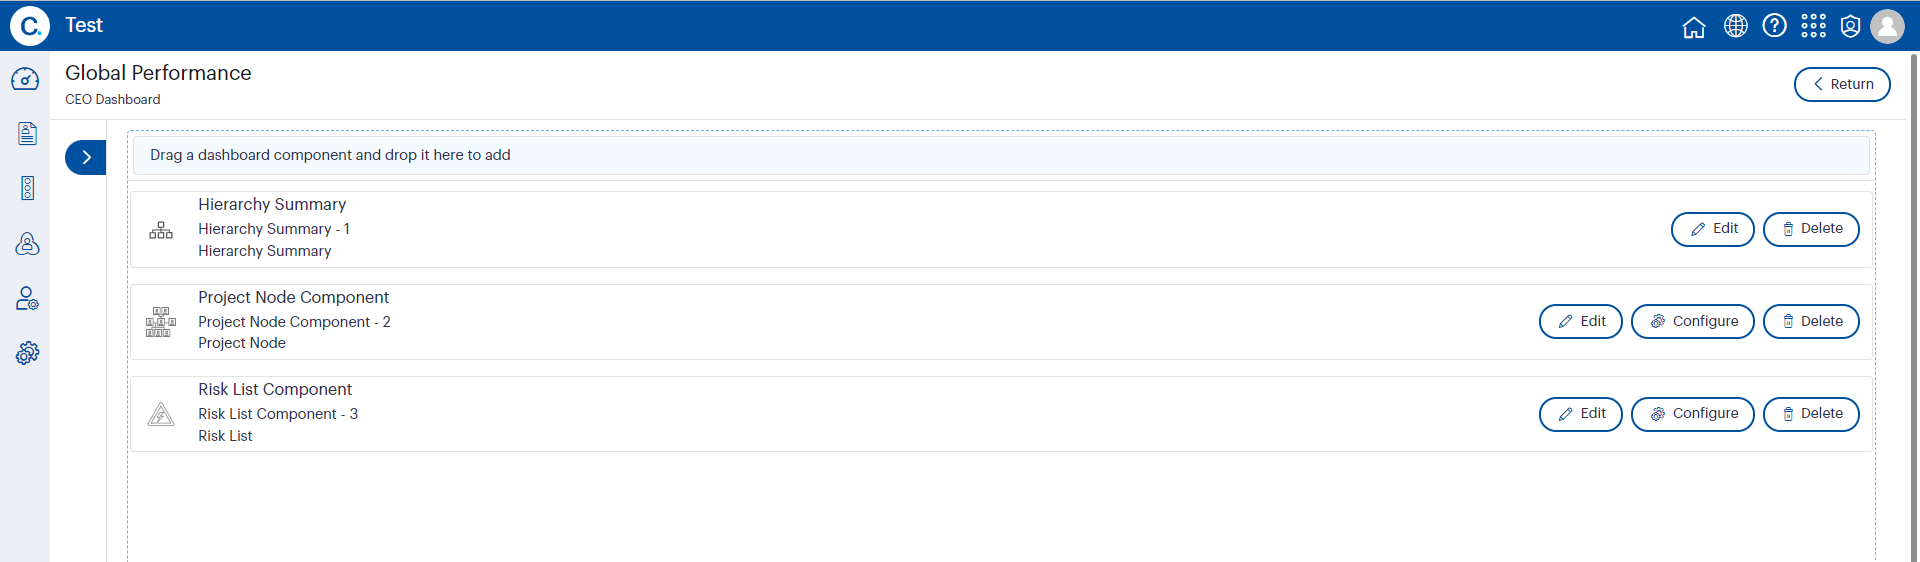
- When the configuration button is clicked, you will be directed to the dashboard configuration area where the view is divided into 2 sections. The breadcrumb placed above will indicate where you are configuring in the dashboard hierarchy.
- Dashboard Components- The design of Community Dashboard is mainly based on components which the dashboard designers can use to create their community dashboard. Different components enable different functionalities and views. Hence, the left hand section of configuration area will be shown with all the available components that can be dragged and dropped onto the ‘Page Design’ section.
- Page Design- When a component is dropped on to the design area, it gets enabled for editing. If you require to add a functionality on to the dashboard, you can drop a component and start configuring.
Note: The arrow icon will expand the screen into full- screen and it will collapse the dashboard components.