- This component will display some important fields of risks linked to a node or a project in a grid view. Dashboard View of Risk List will be as follows:

- You can display the risk rating in two visualizations RAG Visualization and Icon Visualization:


Configuration of Risk List component
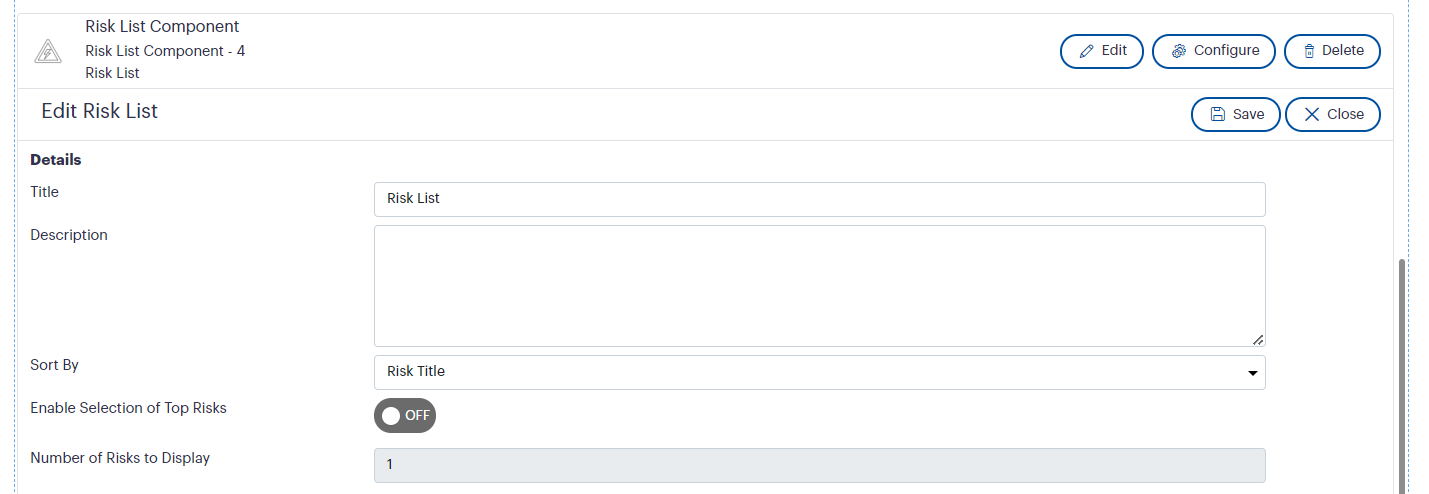
- Title – You can add a title to the Risk List component.
- Description – You can add a description to the component, which will be displayed above the component on your dashboard.
Notes:- Both the title and the description will be displayed above the component.
- All the Risks which are linked to the node along with all the risks which are linked to the projects will be listed in the Risk Configuration grid.
- Both the title and the description will be displayed above the component.
- Sort By - You can sort the selected Risk from the Risk list based on the Title, Code or Risk Rating in descending order.
- Enable Selection of Top Risks - You can 'Enable' and 'Disable' the selection of Top Risks functionality based on your preference via this filter selection.
- Number of Risks to Display - You can filter the selected Risks from the Risk list based on the number of Top Risks which need to be displayed into the front end of the Dashboard.
Notes:
- If there are more than 1 Risk with the same Revised Risk Rating score, but only 1 of it needs to be captured into the front end of the Dashboard, the Initial Risk Rating will be considered as the second sorting option, likewise the Risk Appetite Rating will be considered as the third sorting option, and the Risk Created Date as the last sorting order option (only if applicable).
- If there are ‘NO’ Risks linked to a particular hierarchy node, the note ‘There are NO linked Risks’ will be shown to the Administrator. Similarly, the ‘Number of Risks to Display’ and ‘Enable Selection of Top Risks’ filters would be disabled as well.
- If only 10 risks have been made visible via the Risk List of the Edit menu, and the ‘Number of Risks to Display’ selection has been set to 15, only the selected 10 risks will be fetched into the front end of the Dashboard.
- If the mentioned value to showcase the number of Top Risks exceeds the number of selected/visible checked risks, a validation message is shown.
- If a risk does not have a ‘Revised Risk Rating’, the ‘Initial Risk Rating’ is considered. A placement text ‘IR’ will be shown on top of the Risk Rating color box as well.
- If the toggle filter is set to ‘Unticked’, the numeric input field to select the Top Risks will be disabled. Thus, will bring in all the risks linked and made visible against the hierarchy node, where the component has been placed.
- Search Bar- You can search for a Risk by entering text on the type in search bar placed above the Risk List.

- Visibility- You have to enable the visibility toggle button to show the Risk on the dashboard. The toggle button is disabled by default.

- Risk Code – this refers to the risk code added in Camms.Risk. You can edit the code of the risk on the Risk List configuration grid.

- Risk Name – this refers to the risk name added in Camms.Risk. You can edit the name of the risk on the Risk List configuration grid.
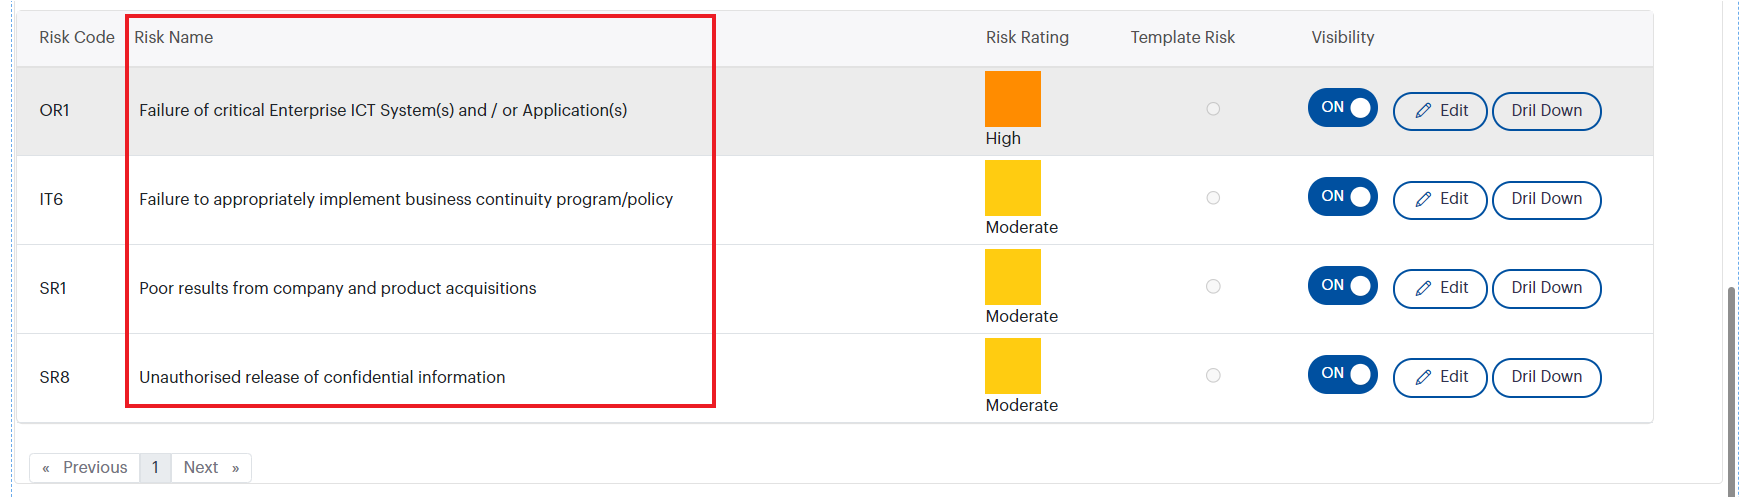
- Risk Rating – this refers to the risk rating added in Camms.Risk. By default, this will showcase the latest revised risk rating configured for the risk. In case if the risk does not have a revised risk, then the latest initial risk rating would be shown with a placeholder text as 'IR 'for better user experience.
![]()
Note: You can click on the edit icon placed at the right corner to edit the details of each risk.


Figure 128: Risk List configuration
- You can configure the fields to be shown on the ‘Risk List’ of your dashboard by clicking on the configure icon of the ‘Risk List’ component.
- Apply to – This dropdown will allow you to apply the configurations dashboard wise, component wise or page wise at once. Default value will be ‘Apply to dashboard’. You have the ability to select the required option from the dropdown. This dropdown will be available underneath every configuration grid.
- Freeze 'Risk Code' and 'Risk Title' columns in the Risk list -If you enable this toggle button, you can see the Risk Code and Risk Title columns as the first two columns in the risk list, and even when you scroll the risk list horizontally, those two columns would remain the same.
- Field Name - refers to the field name in Camms.Risk.
- Label Name – refers to the field name to be displayed on the dashboard, you can edit this as per your choice.
- Visibility – enable the visibility toggle button to make the fields visible on the dashboard. The toggle button will be disabled by default.
- You can arrange the field order by simply dragging and dropping the fields. Doing this will reflect the sequence you set in the admin panel onto the risk list view on the dashboard.
Note: You can click ‘Save’ button once the changes have been done.
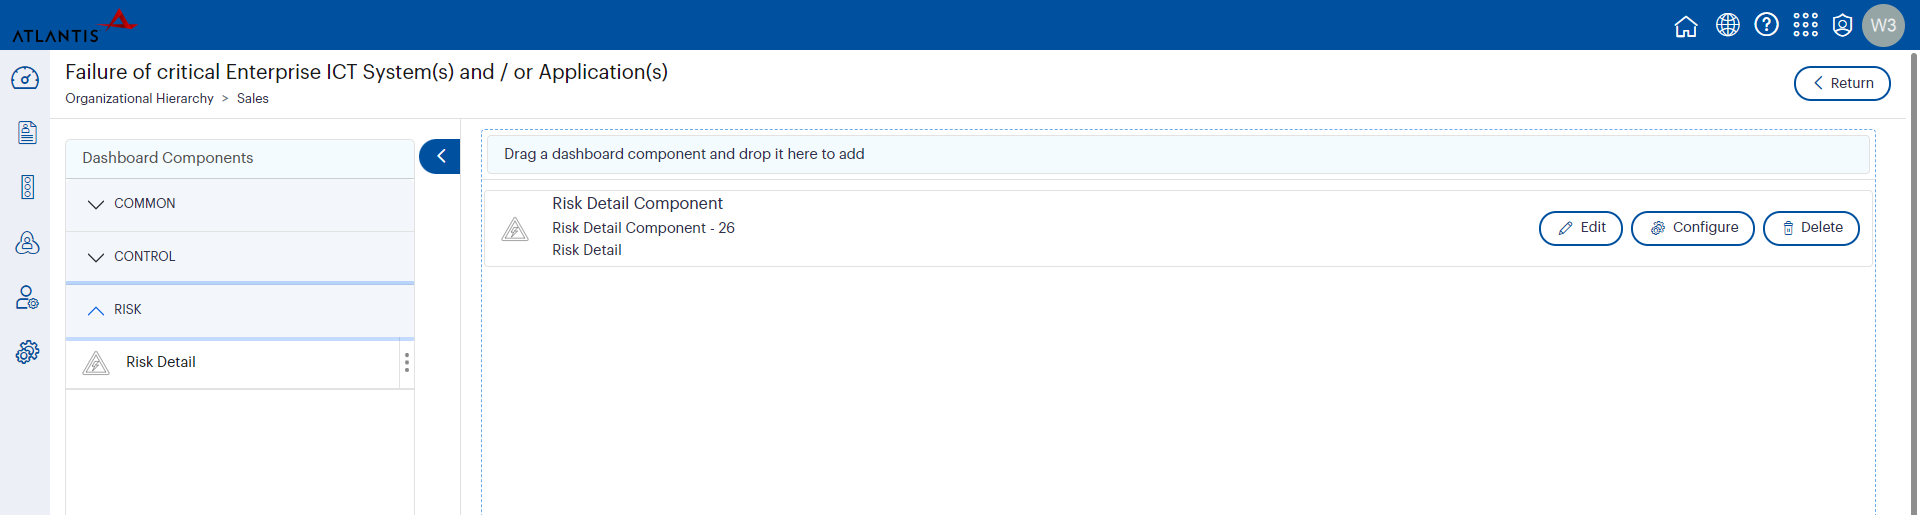
- All the child components which belong to the Risk List component will be visible for individual Risk configuration. Risk detail component and Risk Control List component will be the child components for the Risk List Component.