Once the assessment has been completed for a project, a final approval can be obtained from an authorised user. However, the authorised user needs to be a member of that particular project.
By default, when a project is submitted for approval, the system generates email notifications (using a signoff object) to alert the decision maker that a project proposal is ready for approval. The decision maker has the option of choosing 'Approved', 'Deferred' or 'Rejected' status in response to the proposal. The response is then updated in the system and notification emails are sent to the respective stakeholders.
However, the IPM Administrator can change this default behaviour by configuring the workflow in a different manner.
You can follow the steps below to approve a project manually.
STEP 1: Open the Final Approval screen.
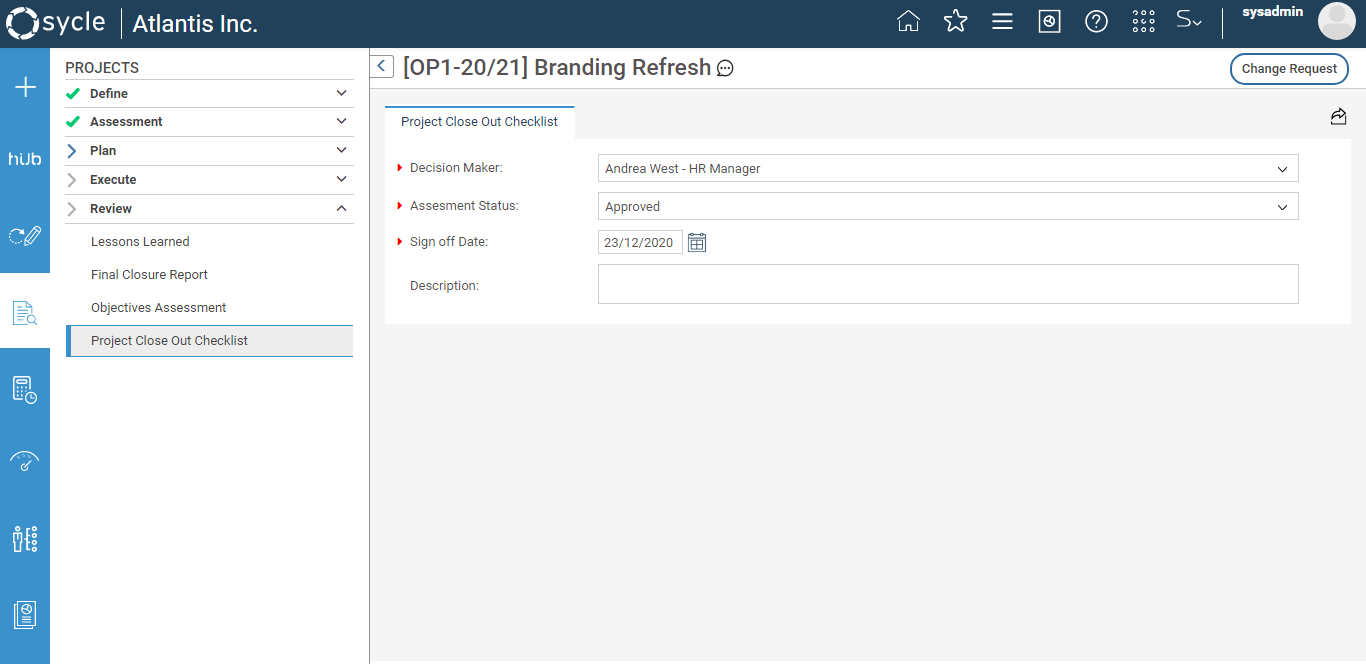
STEP 2: Select your name from the staff dropdown list. Choose whether to approve, defer or reject this project proposal. You will only be able to perform this operation if you have the authorisation only.
STEP 3: Set the sign-off date which is usually the current date. You can also add a brief description justifying your decision.
STEP 4: Click on the 'Save' icon.
The project's approval status will now be visible wherever your administrator has chosen to activate it and can be used to filter out approved projects only for reporting and analysis purposes. See example below.

Exporting the information in the object
You can export information in the Final Approval object to formats such as PDF, Word, Excel etc. by following the steps below:
- To generate an export of the object, click on ‘Export’ icon on the toolbar.

- Upon clicking the ‘Export’ icon, you will see a preview of information within the object on a new browser tab.
Click on ‘Export dropdown menu’ icon and select the preferred export format from the menu to download the file in the selected format.
