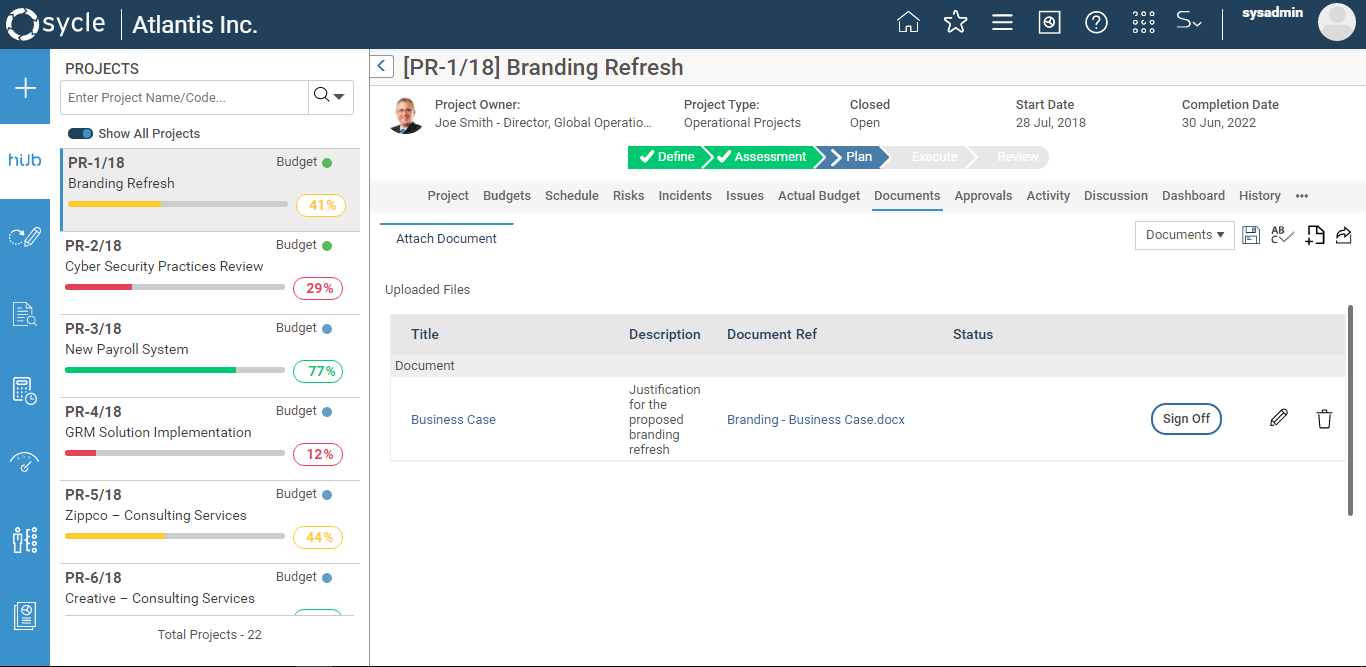
The 'Documents' tab in the Project Hub page allows users to view documents uploaded from the current Attach Document object.
However, if you do not have view permission to the current editable Attach Document object, then the message 'No sufficient privileges granted to view details' will be shown.

From the dropdown list on top, you can select the attach document object.

The grid information is grouped by the following items:
Document – Displays all uploaded documents
URL – Displays all uploaded URL links
Trim Link – Displays all uploaded trim links
Share Point Link – Displays all uploaded share point links
The following information for each document/links uploaded is displayed in the grid:
Title (‘Title’ will be a hyperlink to the uploaded document or link)
Description
Document Ref
Status

You can edit or delete an existing document upload by clicking on inline edit/delete icons.

Adding a New Document
In order to add a new document, you can follow the steps below. The ‘Add’ button will only be visible if you have ‘Can Add’ permission to the respective Attach Document object.
1. First select the correct object type, and then click on the ‘Add’ button.
2. Select the ‘Upload Type’ from the dropdown list.

File Upload

1. You can upload a file from a particular source.
2. Enter a Title and Description for the document.
3. Click on ‘Select’ button and locate the relevant file. You can click on the ‘Remove’ button to delete the uploaded file.
4. Click ‘Upload’. The document will appear under the Documents section of the grid.
Add an URL Link
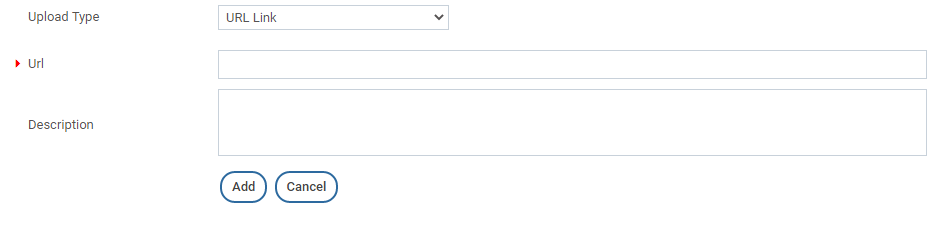
- Enter the Title and Description for the URL.
- Then type the correct URL and click ‘Add’.
Adding a TRIM Link
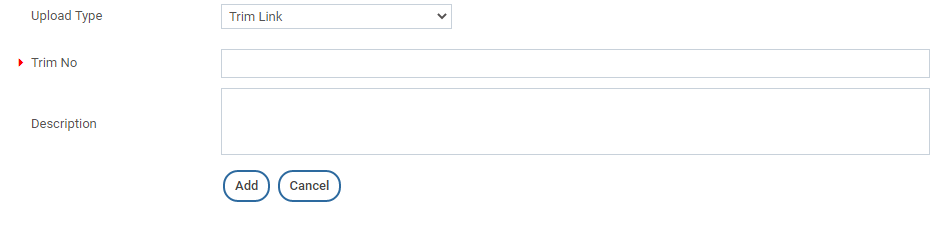
A title for the Trim Link should be mentioned under “Title”.
Corresponding document reference number from the Document Management System should be mentioned as the “Trim No”. This is a mandatory field.
Trim description can be stated under “Trim Description.” This field is not a mandatory field.
You can upload the Trim link by clicking the “Add” button. “Title” field will be mapped with file name if the “Title” field is empty, when the “Add” button is triggered.
The Trim links uploaded will be displayed in the ‘Documents and Links’ grid under the “Trim Link” section.
Adding a Share Point Link

1. Select ‘Share Point Link’ from Upload Type dropdown.
2. Enter a title for the link.
3. Specify the share point link in ‘SharePoint Link’ text-box.
4. Add a description and click on ‘Add’ to upload the link.
Sending a document/URL for sign off
When document sign off functionality is activated through the object editor area, the ‘Sign Off’ icon will be available against each document/URL in the Documents tab of the Project Hub.
Clicking ‘Sign Off’ button adjacent to a document/URL will display a pop-up as shown below:
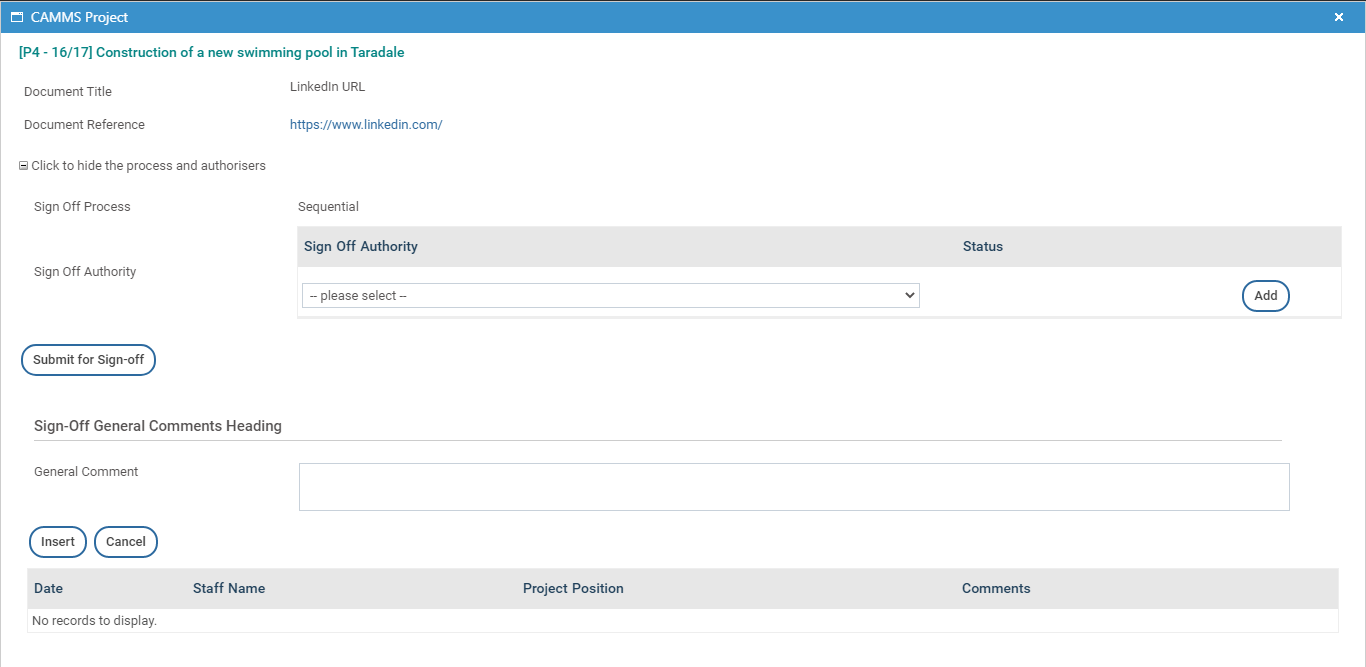
- You can select the relevant sign off authorities, and click on ‘Submit for Sign Off’ button to submit the document/URL for approval. The pop-up window will also show details of the attachment such as its title and reference. An email will be generated to the respective sign off authority.
- Once applied for approval, the document/URL will be read only. Hence, you will not be able to edit or delete the document/URL until the sign off is completed.
- Upon receiving the sign-off request email, the ‘Sign Off’ Authority can then review the document/URL and choose to Approve or Reject it. Depending on the sign off settings determined by the admin, the Sign Off Authority may be allowed to provide a justification for the decision.
- This can be done by either clicking the relevant link in the sign-off email, or by navigating to the respective object and clicking on the relevant button.
- After the approval, a ‘Sign Off’ Complete email will be generated.
- When a document/URL is approved, it will be ‘read-only’ and will not be editable for any users, except for users who have the ‘Can Edit After Sign Off’ permission to the object or super permissions (IPM admin, Project Manager etc.) .
- When a document/URL is rejected, it will be made editable so that you can make the amendments and re-submit for sign off, if required.
- Sign Off status will be displayed in the ‘Status’ column.
Note: Document approval functionality is also available within the Attach Document, Advanced Scope and custom objects.
Exporting information of documents
You can also export the information of the documents by clicking on the Export icon in the toolbar.

