 Camms is pleased to announce the October Feature Release for Camms.Project.
This was released on 17th October 2020 and includes the following new features and enhancements to improve your user experience within the system.
1. Kanban board for project tasks
Kanban Boards have been introduced to Camms.Project as a convenient way to manage your tasks and update the task progress.
How to access the Kanban Board?
- Task Kanban Board is available in the following application areas:
- Task Planning object (Gantt) in the project
- Project Hub > Schedule tab
- My Quick Update > My Tasks
- Select the ‘Kanban’ option in the toggle button in the above areas to navigate to the Kanban Board.
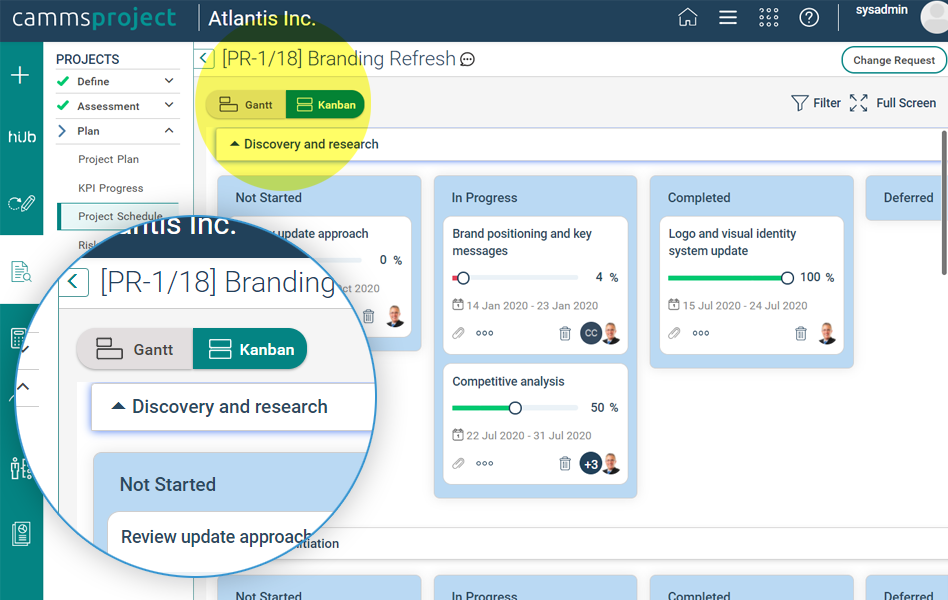
Image 1: Toggle to navigate to the Kanban board
What information on tasks can I view/update in the Kanban board in the task planning object and project hub?
- Lists/Columns in the Kanban board represent the status of a task (i.e. Not Started, In Progress, Completed, Deferred, and Ongoing).
- Cards represent the tasks in the Gantt.
Note: Only child tasks/milestones and standalone tasks/milestones in the Gantt will have a card in the Kanban board.
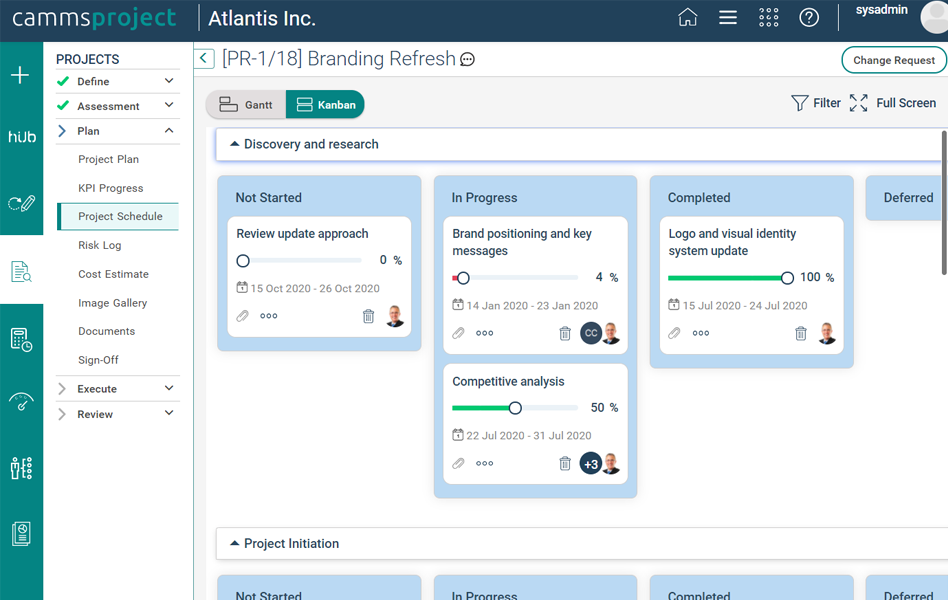
Image 2: Kanban board in the task planning object
- Tasks are grouped by the parent/summary tasks which they are linked to.
- Each card displays the following information on the task:
- Title
- Progress bar – will display task % complete, and the colour of the slider bar will represent the performance of the task
- Timeframe (start and end dates)
- Responsible person
- No. of attachments
- Update tasks:
- You can update task progress by dragging the progress bar on the card. The system will automatically save your progress updates.
- You can further update the status of the task by moving the card across the columns. This can easily be done by clicking a card, dragging and dropping it on to the required column in the Kanban board.
- Delete tasks:
- Tasks can be deleted by clicking on the Delete icon on the card.

Image 3: Delete icon on the card
- Show More Details:
- Click on the ‘Show Details’ icon on the card to view/update more details of the task.
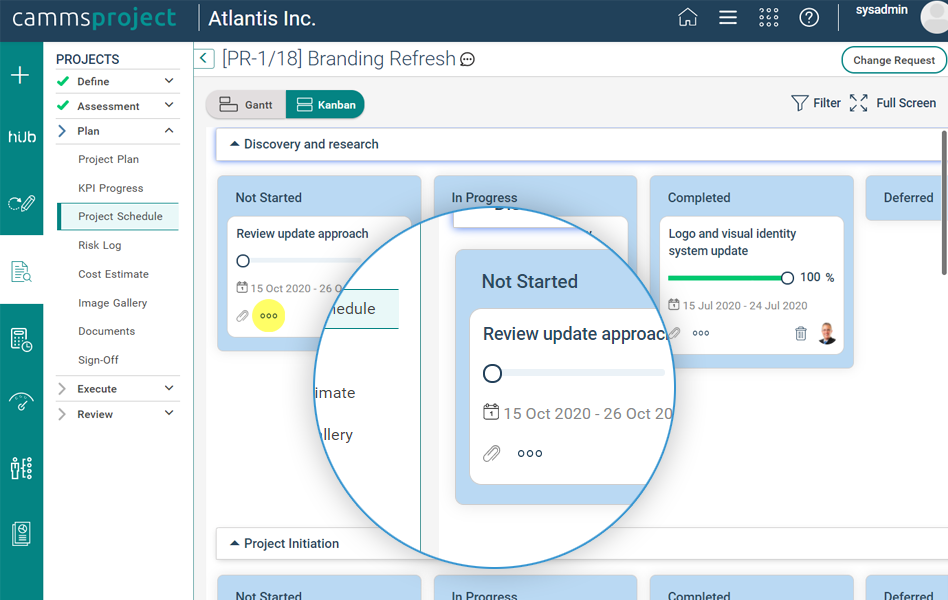
Image 4: Show details icon on the card
- The Show Details pop-up will show all fields activated in the Task Planning object except for:
- ID
- Predecessors
- History
- Attachments
- Responsible person
- Reference tasks
- Custom calculated fields

Image 5: Show details pop-up
- You will NOT be able to update/edit the task Start Date, End Date, and Duration within the Show Details pop-up.
- Once the updates are made, click on the 'Save' button in the Show Details pop-up to save the updates. Upon saving, the updates will reflect on the Gantt.
- Full Screen:
- Click on the Full Screen icon to view the Kanban board in a full screen view.
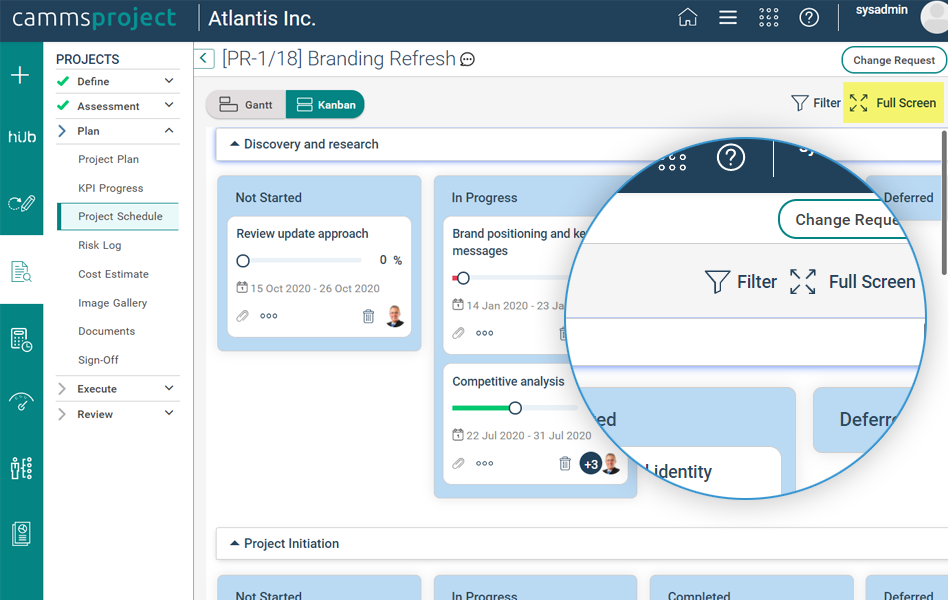
Image 6: Full screen button
- Filters: The following filters are available to filter the Kanban board:
- Task name
- Responsible person
- Start date and End date
- Performance status (On Track, Off Track, and Monitor)

Image 7: Filters
What is available in the Kanban board in My Quick Update > My Tasks?
- The Kanban board in the My Quick Update page will show all tasks which are assigned to you.

Image 8: Kanban board in My Quick Update > My Tasks
- Tasks will be grouped by the Project and Parent/Summary tasks which they are linked to.
- The same functionalities mentioned above will be available in the Kanban board under My Quick Update.
Who can access the Kanban board in the Task Planning object and Project Hub?
- Users with ‘View’ permission to the Task Planning object will be able to view the Kanban board.
- Users with ‘Edit’ permission to the Task Planning object will be able to move the cards and edit details of the cards in the Kanban board.
- Users with ‘Delete’ permission to the Task Planning object will be able to delete cards in the Kanban board.
- Users with ‘Can Edit After Sign Off’ permission to the Task Planning object will be able to move the cards and edit details of cards once the Task Planning object is signed off.
- Users with ‘Can Edit After Terminate’ permission to the Task Planning object will be able to move the cards and edit details of cards once the project is terminated.
- Users with Super roles (e.g. IPM Administrator and Project Manager) will be able to perform all the above actions.
What’s coming up?
Camms will be continuously working towards improving and extending the Task Kanban Board to have the following features, as a part of the roadmap. Stay tuned for the updates through our published roadmap and product communications.
- Upload attachments on a click of the attachment icon on the card.
- Ability to update attachments, responsible person and reference tasks through the show details pop-up
- Save search templates.
- Ability to export the Kanban board to a PDF file.
- Add tasks from the Kanban board
- Filters in the Kanban board under quick update
- Task Kanban board in the change request workflow
2. Ability to access the Project Hub from the Project Register
- You can now easily navigate to the Project Hub from the Project Register and perform your project updates.
- An admin can activate this feature by selecting the ‘Column Visibility’ tick box against the ‘Project Hub Hyperlink’ field under Framework > Project Settings > Project Register View.

Image 9: Project hub hyperlink field in Project Settings > Project Register View
- Once activated, a new column called ‘Access Hub’ will be displayed in the Project Register.
Note: An admin can configure the title of this column under Framework > Project Settings > Project Register View.

Image 10: Access hub column in project register
- Clicking on the Hub icon adjacent to a project will take you to the Project Hub, where you can easily view the details of that project.
3. Improvements to the Add New Incident functionality in the incident object
- When a new incident is created within the Incident object, the system will now automatically link that incident to the project. Hence, you don’t have to manually link the newly created incidents to the project via the ‘Link Incidents’ dropdown in the Incident object.
- To add a new incident, you can click on the ‘Add’ button in the toolbar.

Image 11: Add icon in the incident object
- Once you enter the required details of the incident and click on the 'Save' button, the system will automatically link that incident to the object.
- Click on the ‘Refresh’ button to get that incident added to the grid within the Incident object.
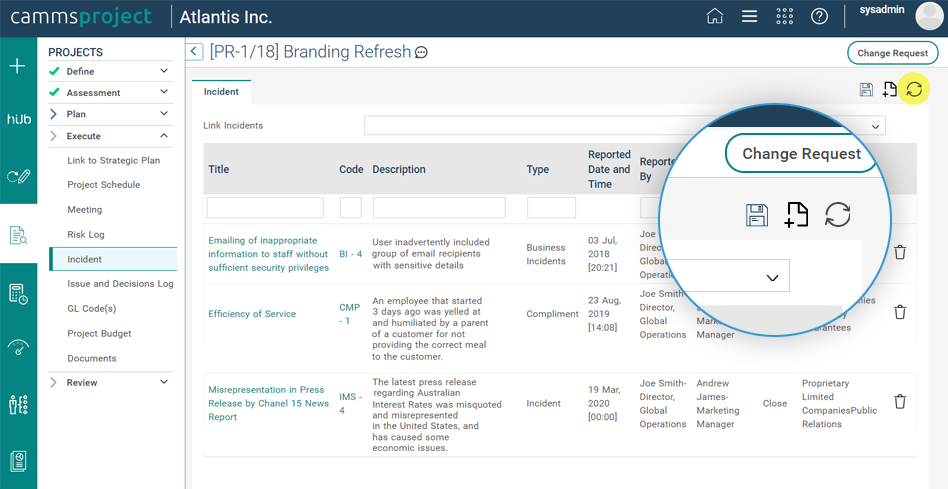
Image 12: Refresh icon in the incident object
Note: An Incident object will be available in the workflow configuration area, only if the Incident module is activated in your environment.
