View Templates
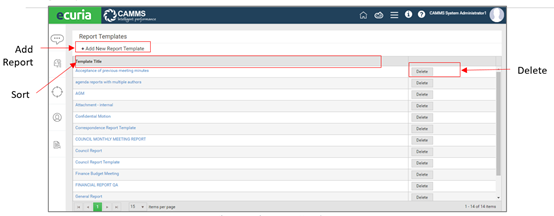
All report templates will be listed by Template Title in alphabetical order in a grid view as per the below figure. The user can select the items viewed per page from the drop down.
The records can be sorted by clicking the Column Name. For Example; If the user clicks "Template Title”, the records will be sorted on template name in alphabetical and numeric order.
Add New Report template
This enables the administrator to create customised report templates for different types of meetings. The report is used to create an agenda.
To Add a new report template, the following steps, have to be followed:
- STEP 1: Click on the hamburger menu icon in the header
- STEP 2: Click on the ‘Add new report template’ link on the view page.
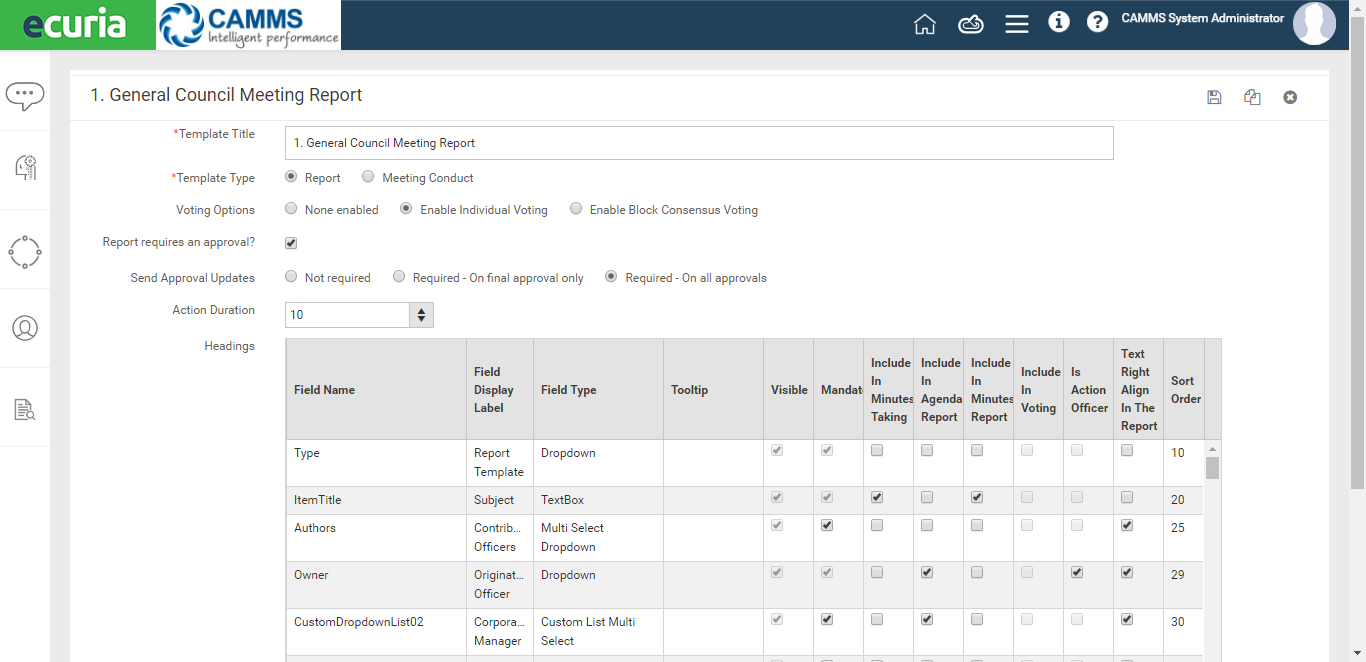
- STEP 3: Enter the following fields:
1. Template Tittle -This is the Name of the template. It is Mandatory
2. Template Type – There are two types of templates.
a. Report Template – This template is suitable for detailed meeting reports.
b. Meeting conduct – This template is for short summarised meeting reports. This meeting template does not have approvals.
3. Require an Approval – This allows/disallows approval on the report that is created when creating agenda item, based on the selected option approval. The options are;
a. Not required
b. Required – On final approval only
c. Required – On all Approvals
- STEP 4: Customise the field types
The grid allows to select the fields of the report and customise it based on the requirement. Some mandatory fields are disabled from customisation. The admin can edit the field display label, include a tooltip, and select fields to make mandatory, etc., for the report. The custom fields are as follows:
- Custom RTF box – 25
- Custom RTF Light box – 10
- Custom Text box short string – 25
- Custom Text box integer – 5
- Custom Date – 5
- Custom Lists – 10
- Custom Multi Select Lists – 10
- Custom Image Field – 10
The new ‘Image’ field type in the report template configuration allows images to be directly uploaded into a report. This feature can be configured only for users with administrator user role privileges.
To configure the field type for an Agenda report or Minute Report, the admin user needs to go to Administration > Report Template > Select an Existing Report or Click ‘Add New Report Template’ to create a new template. Scroll down and click on the field type ‘Custom Image’ and replace the ‘Field display label’ with a short ‘Tool Tip’ if required.

Additionally, the user can insert an image field into a report by using the ‘+’ icon in the Agenda Item – New Agenda Type in Meeting preparation section. The uploaded image can be of any type and size, but any large image will be resized in a proportion to its full width and height.
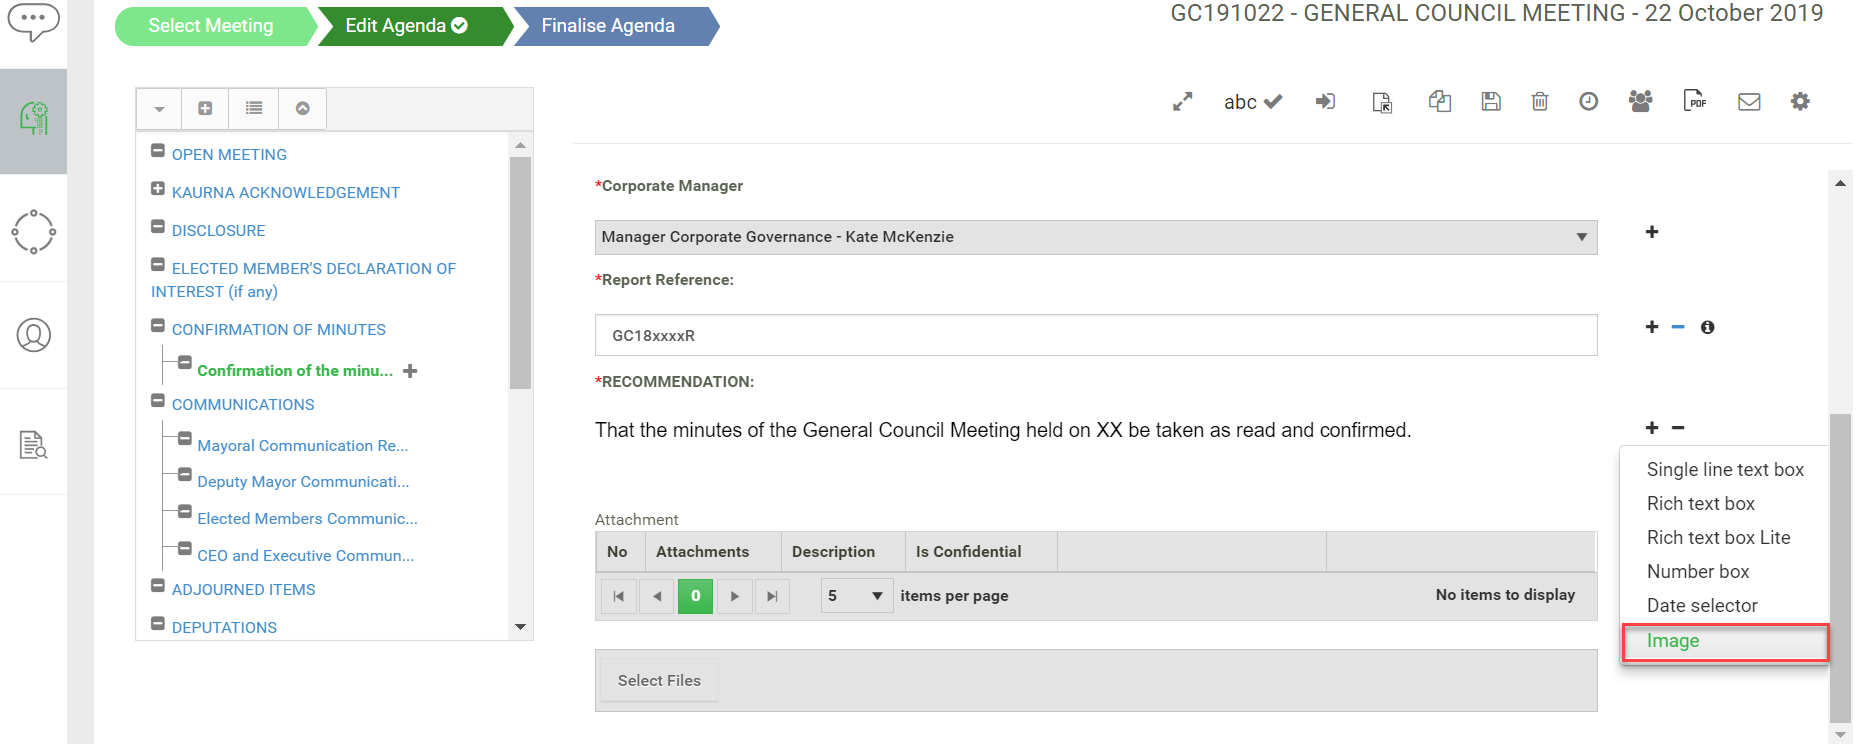
- If the image width is lesser than 700 pixels, but the height is larger, the image will not be resized but will be split into multiple pages depending on the height of the image.
The admin has the option to customise the fields that need to be included in minute taking, agenda report, and minutes report. - The administrator can configure the fields of a report by giving a suitable name for the fields by Editing the ‘Field Display Label’. A tooltip can also be provided. The fields can be marked visible and/or mandatory as well.
The field name can be ticked to include in Minute Taking, Agenda Report and Minute report. If the field is not ticked for ‘Include in Minute taking’, then the field will not appear on the join meeting page. If the field is not ticked for ‘Include in Agenda Report’, then the field will not appear in the agenda report. If the field is not for ‘Include in Minutes report’, then the field will not appear in the Finalised Minutes output report. - Including in voting – This functionality allows only one RTF to be selected, to be included in Voting. This means, the content entered in this RTF box during the Agenda creation, will be auto populated, when the organiser clicks on ‘voting’ action icon at the ‘Join meeting’ stage.
- Is Action Officer – This configuration is to select the Responsible Officer for actions, which are auto generated for agenda items, in the Join Meeting & Meeting Minute Stage.
- Text Right Align in the report is to have any data fields right aligned in the report.
- The sort order is customisable. If the admin wants to place a field between two sort numbers, the lesser value has to be given in the sort order.
- If the report is confidential, then the ‘Reasons’ Will appear in the non-confidential report even if the field is un-ticked.
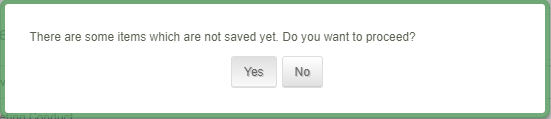
- STEP 5: Once the template is complete the user has to click ‘Save’. If the user attempts to navigate away a pop up (Figure 47) will appear.
- STEP 6: The User can also create a copy of the template by clicking the ‘Duplicate’ button.
Edit Report Template
A Report Template can be edited by clicking ‘Report title’ within the grid. The ‘Add report’ page will load with text editable text boxes and a grid. Click ‘Save’ to update.
Delete Report Template
To Delete an existing report, click on the ‘Delete’ button in the report template grid. Only templates that are not linked with meetings and other functionalities can be deleted. All links have to be cleared to delete. The user will be prompted, to click ‘ok’ to continue.